
Using Spelling & Grammar Check in Word 2013 is a useful feature to check misspelled words and grammatical errors in the document. The feature not only saves times but also makes the task easy.
Spelling and grammar check is done simultaneously when you select the ‘Spelling and grammar’ option. The spelling and grammar check starts from the beginning of the document. The spell and grammar check tool identifies spelling and grammar errors as they come across and presents you with suggestions to rectify the mistake.
1. Open a Word document
2. Click on Review
3. Locate Spelling & Grammar on the top left of the ribbon and click on it.
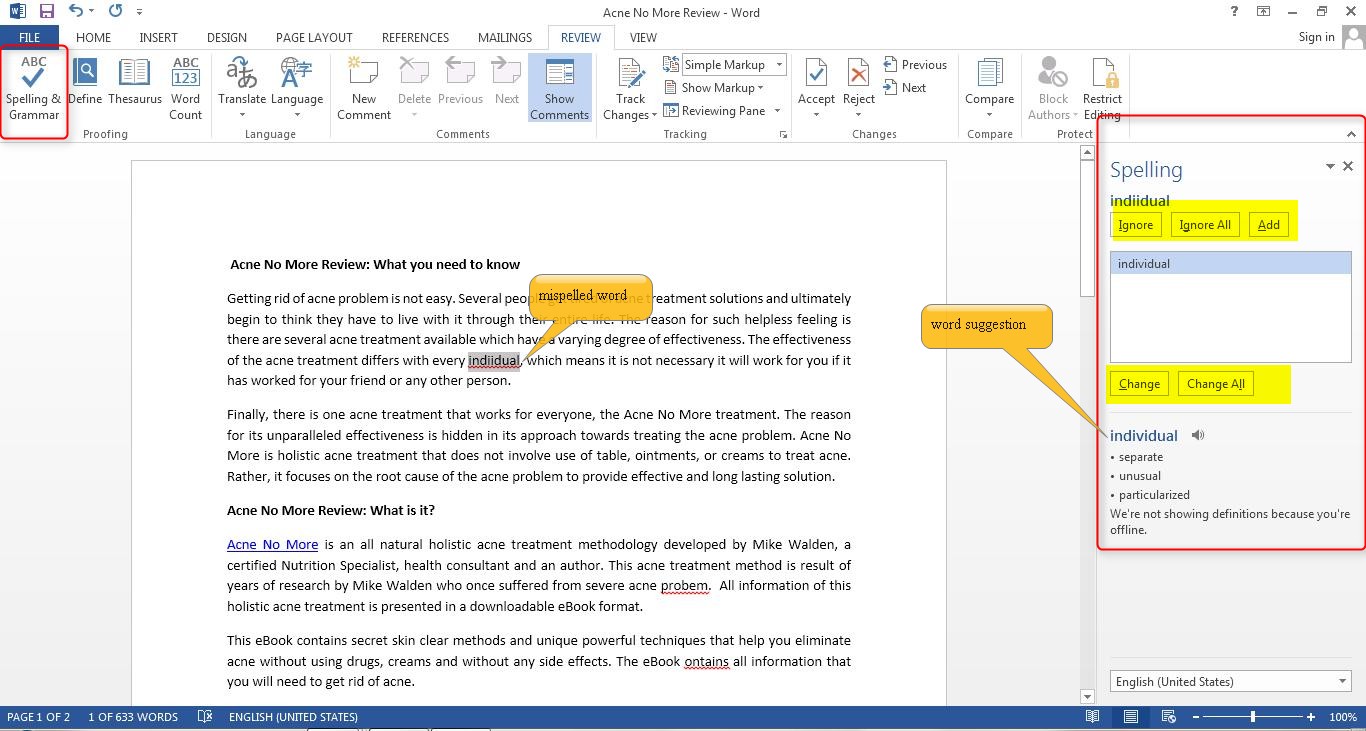
Note: A task pane opens at the right side of the document. You can see the misspelled word and Word’s suggestions below.
4. Word presents you with five different options in spelling check such as
- Ignore– ignore the word and continue editing
- Ignore all – ignore all instances of the word in the document
- Add – add the word to the dictionary
- Change– change the word with highlighted suggestion
- Change all– change all word instances in the document with highlighted suggestion.
5. Select any one option mentioned above.
During grammar check, Word generally looks for missing commas, apostrophes, question marks, articles and other grammar related things. While highlighting the grammatical error, it also gives you an explanation about the mistake.
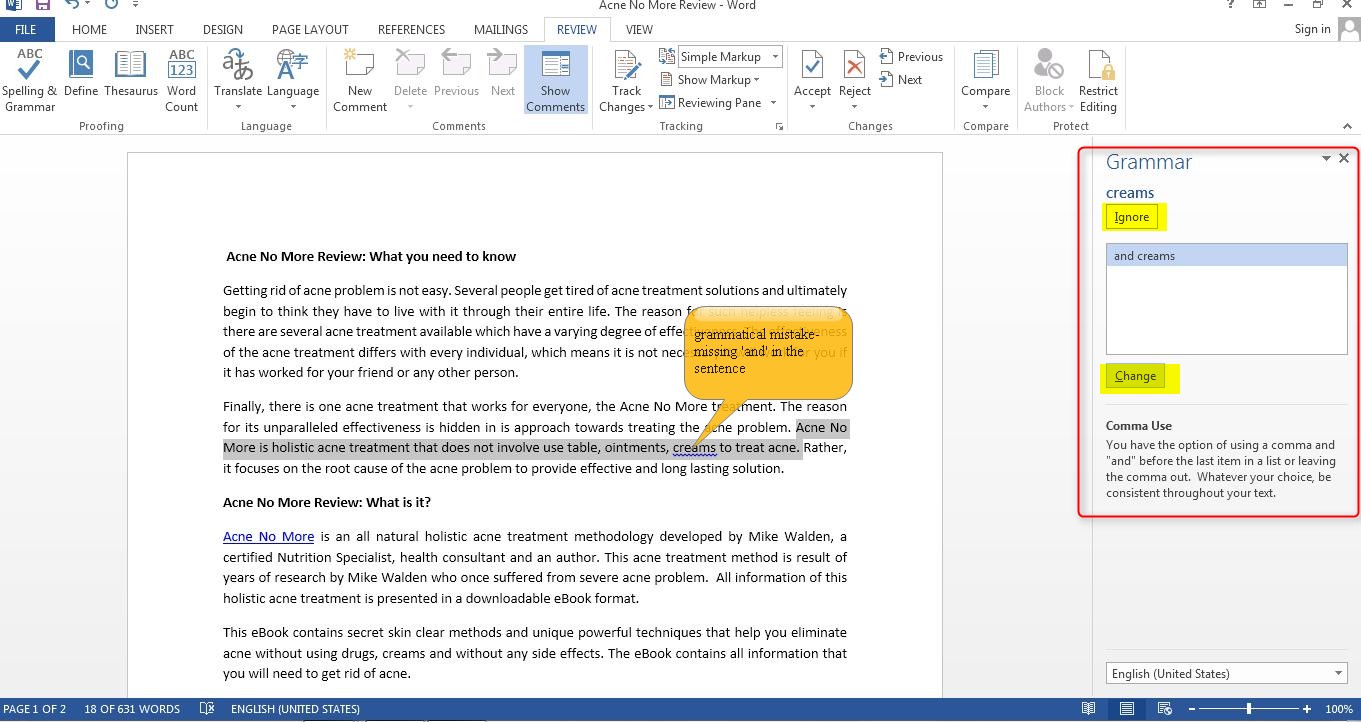
6. Words present you with two options in grammar check
- Ignore– ignore the grammatical error and continue editing
- Change– Rectify the error as per highlighted suggestion
7. Select any one option mentioned above.
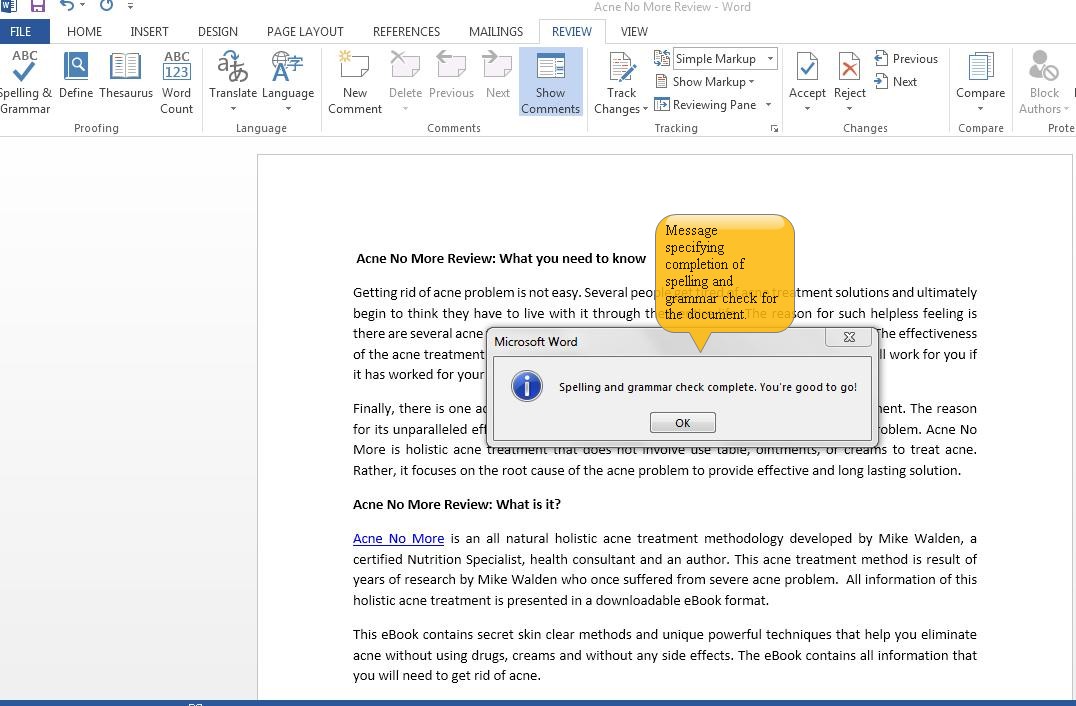
You are greeted with a message “Spelling and grammar check complete. You are good to go!” after completion of spelling and grammar check.
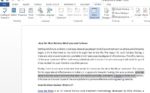
And now you have learned about Using Spelling & Grammar Check in Word 2013