Insertion Point
For working with word, we always use insertion point. The insertion point is nothing but the vertical line on the word screen that keeps blinking. You can enter text in the document at the place of the insertion point.
Whenever we create a new document, this will appear on the top left corner of the document and you can start typing from that location. You can double click on any other location of the page and the insertion point will be moved.
Insertion point is used for different purposes essential for working in word.
Space: You can add spaces between the text and different words by entering spaces (Using spacebar).

Moving across the document: You can use arrow keys to move the insertion point in different directions. Up and Down arrow keys will move the insertion point in different lines. Left and Right keys will move the insertion point in the same line.

New line: You can press Enter and the insertion point will move to the beginning of next line. You can start the next paragraph from here.

Going to a specific place: You can move the insertion point to a specific position in your document using the mouse. Also you can click on the location directly to start typing there.
Text Selection
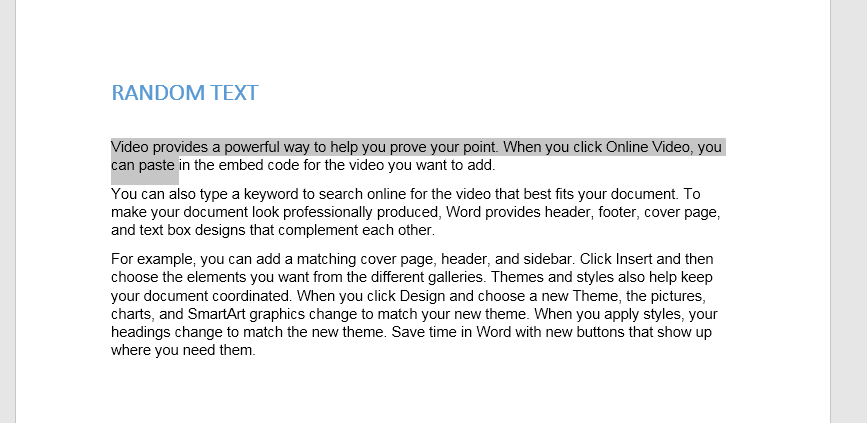
While working on MS Word documents, you will often have to select the text to format or move it. Click on the text beginning and drag the mouse in order to select the text. You can also double click on the word to select the text.
You will see a highlighted box over the text with different options of formatting.
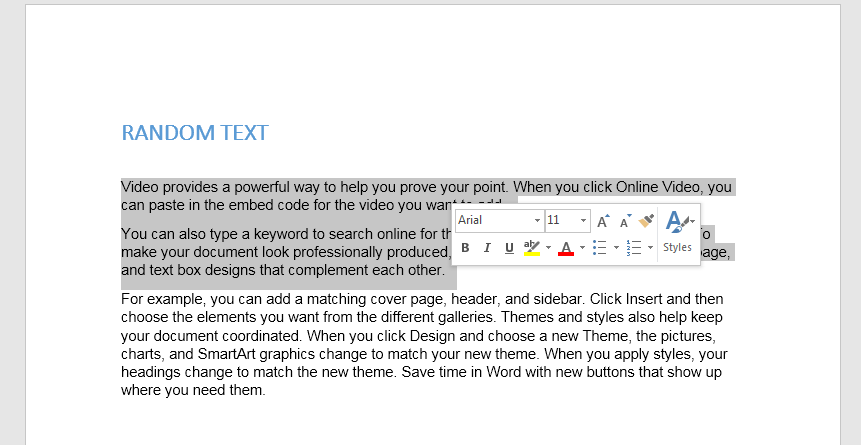
In case you want to text of multiple lines, move the mouse to the left of next line and leave until the end of the text you want to select.
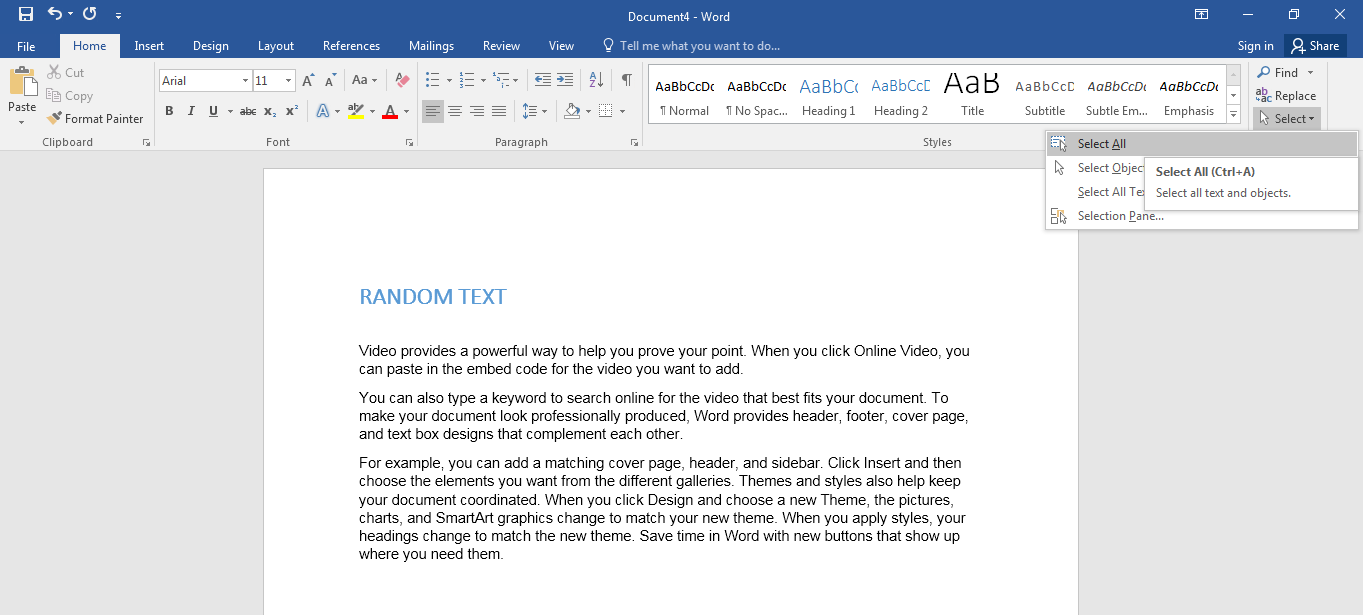
If you want to select the entire text of the document, go to the Home tab and click on Select command. Choose Select All. Also, you can use the keyboard to press Ctrl+A for selecting the entire text.