
Password Protect your Document in Word 2013 – Password protecting your Document is the best way to secure the document from unauthorized access. The password protection feature in Word 2013 enables you to prevent opening of the document unless you enter the right password. (Note: If you forget the password then there is no way to open the document)
1. Launch MS Word 2013
2. Open the document which you want to protect with password
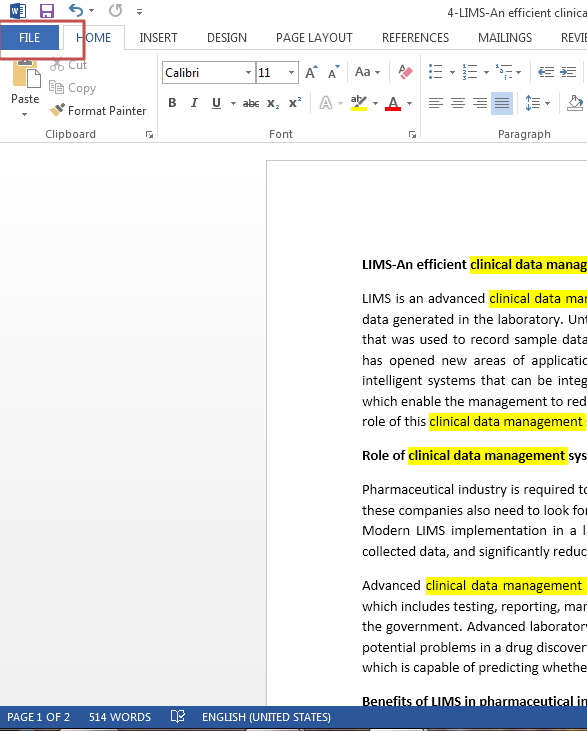
3. Click on File to reveal the Backstage View
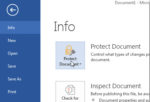
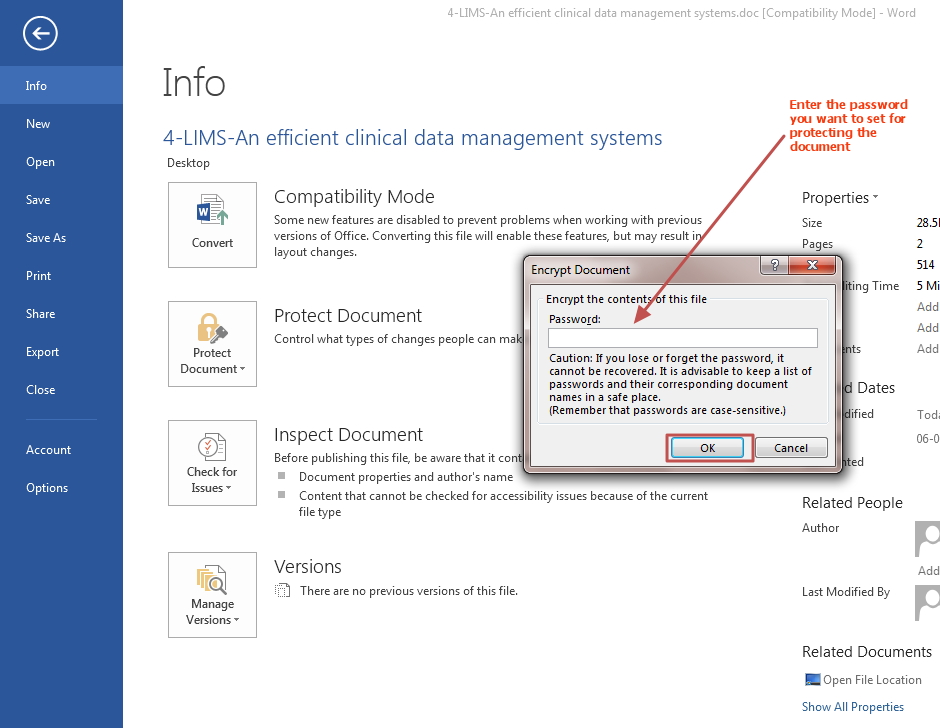
4. Click on Protect Document
5. Scroll down and click on Encrypt with Password option

A pop-up dialog box opens prompting to enter Password to protect the document.
6. Enter password and click on OK
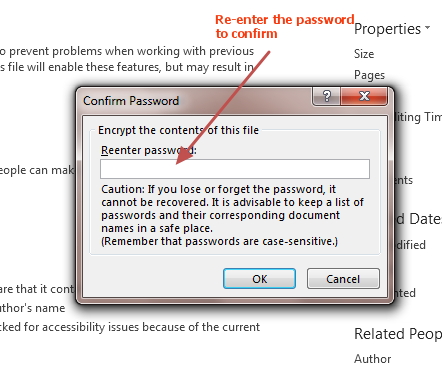
A pop-up dialog opens asking you to re-enter the Password second time to confirm the password
7. Re-enter Password and click on OK
You need to save the document to finalize the password protection for your document.
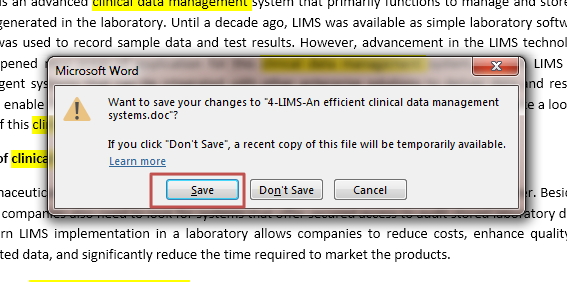
8. Click on Save
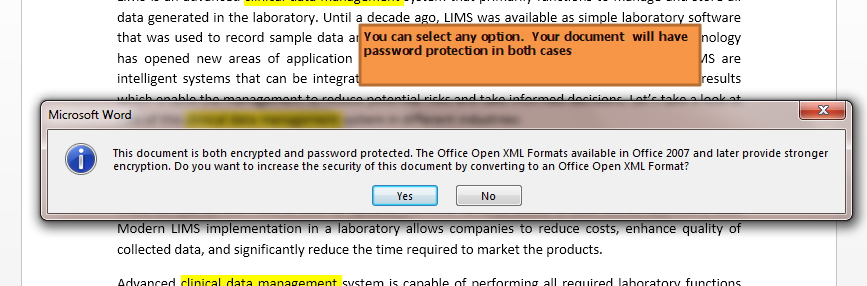
9. You will be prompted to convert the file in XML format which offers added security. You can click on Yes to confirm the conversion or select NO if you want to keep the file in same format. In both cases, the document will have password protection.
Your document is now Password protected. If anyone tries to open the document, he/she will be prompted to enter the password.
