In this lesson, we’ll link Excel Worksheet inside the Word Document instead of embedding Worksheet in the document. Linking worksheet will create shortcut as an Object instead of as a table.
Step#1
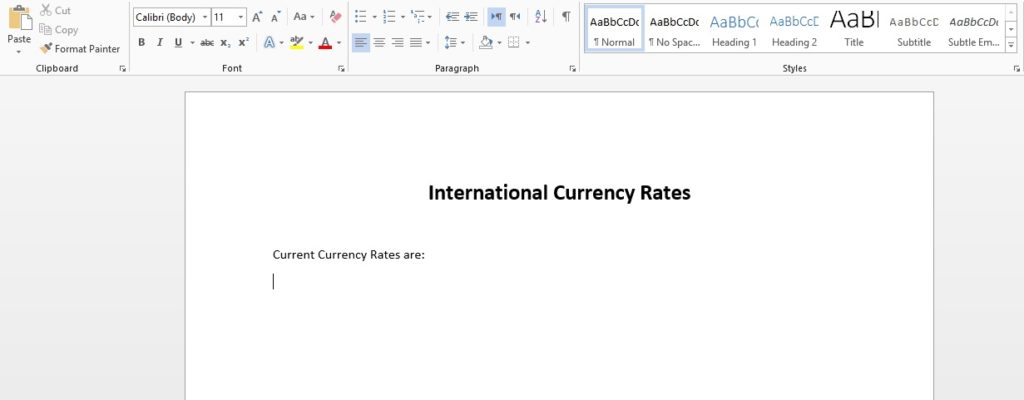
Open new Word Document. Write any text before the Worksheet object.
Step#2
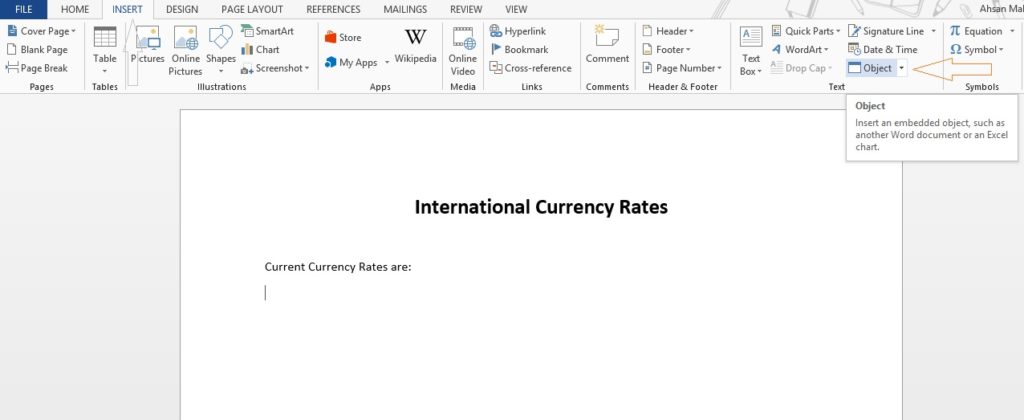
Next step is to link Excel Worksheet into the Word document. For that, we’ll move to “Insert” from the ribbon tab and Select “Object” in “Text” Section.
Step#3
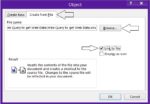
Object Popup box will be opened. Select “Create from file” tab and Press “Browse” and Select file.
After selecting file, don’t forget to check “Link to file”. It’ll create a shortcut display on your word document file.
Step#4
You’ll be seeing the Excel worksheet in Word document in the form of object.
Here is the view of Excel worksheet linked to Word Document.
Step#5
You’ll see if the value in worksheet is changed, Word document will not detect it suddenly. To update the link in document file, right click on Worksheet Object and select “Update Link”. It’ll update all the values.
Precautions:
Whenever you link the Excel file to Word Document, you need to keep the link breakage in mind. There are following reasons that will break the link in your word and Excel file.
- If you’ll rename the Excel file linked in the word document, you’ll break the link.
- If you’ll rename the folder that contains the excel file linked to document, you’ll break the link.
- If you’ll email the document file and doesn’t attach linked excel worksheet, you’ll break the link.


