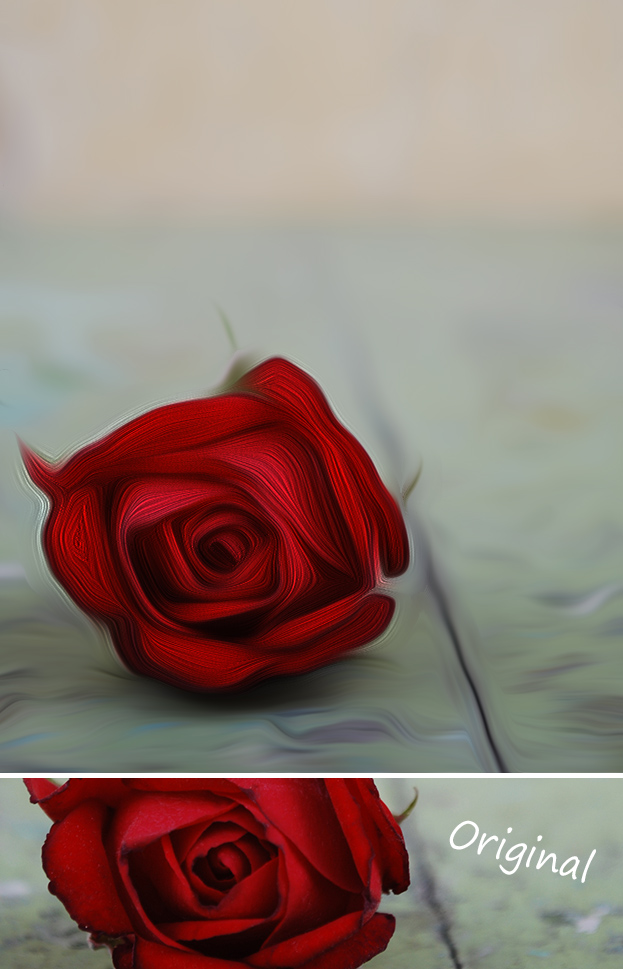
How to Mix Different Oil Painting Filters in Photoshop CS6
As we know, one of the new features in Photoshop CS6 is the Oil Paint filter. It is a nice filter that allows you to create a very effective painting look. Unfortunately, what effect suits on some objects may not work on the others. That is why mixing the water paint effects may become as a very useful idea.
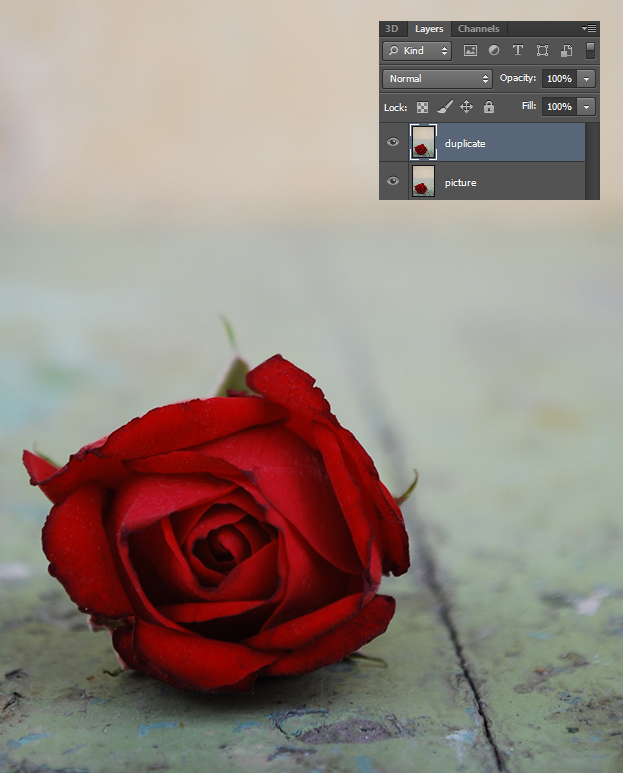
1. To start with, open a picture that has at least two different subjects. The picture below has a rose and a background.
2. Duplicate the rose layer by right clicking on it and choosing Duplicate Layer.
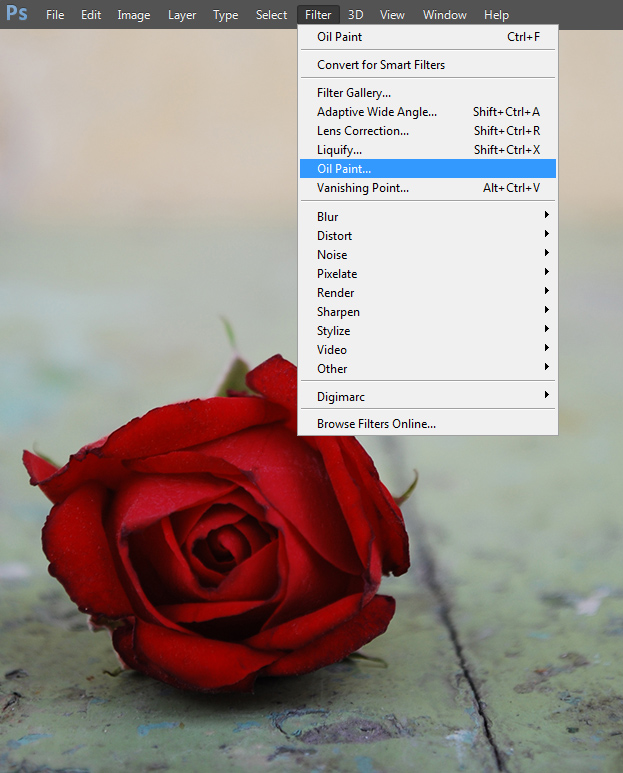
3. Now locate the Oil Paint at Filter > Oil Paint and click on it.
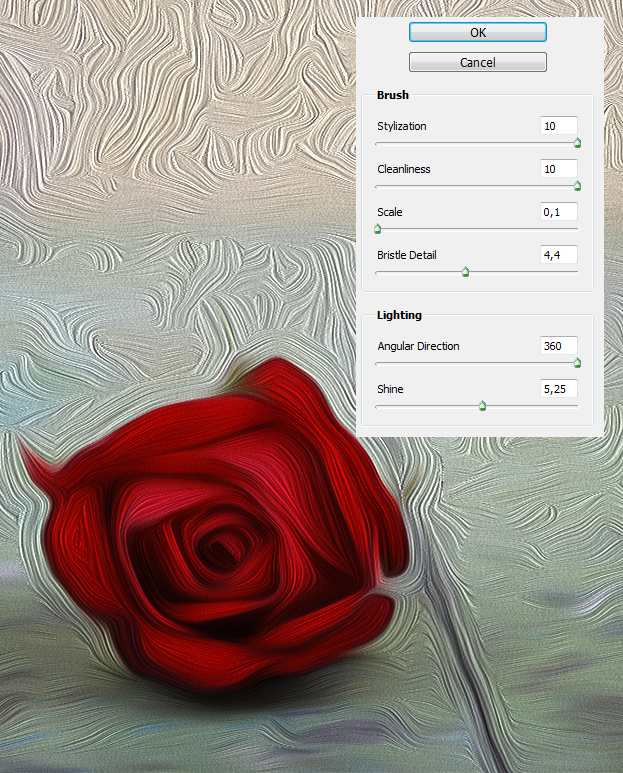
4. We’d like our rose to be very drawn and with nice highlights. As you see, that effect works very good on the rose, but not so well on the background. But do not let yourself affected by that. Adjust the oil paint according to just one object and for now, ignore the others. Press Ok.
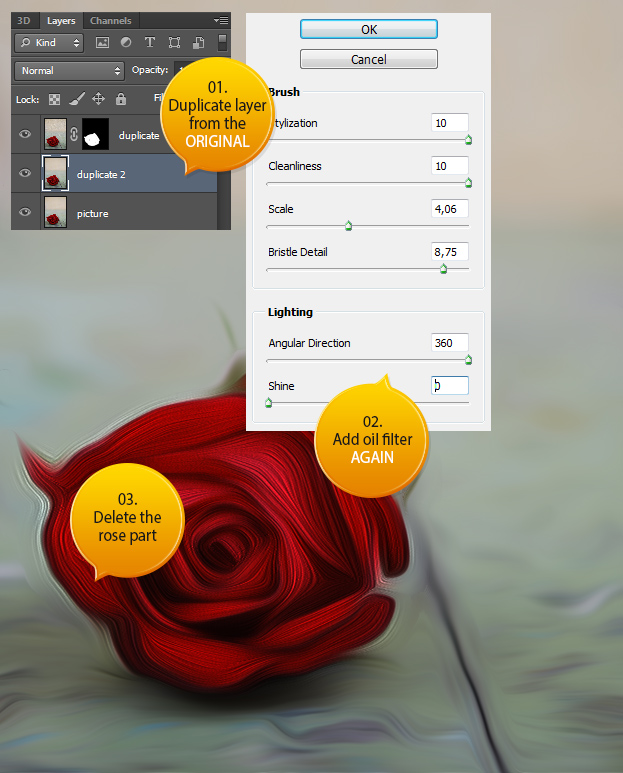
5. Now take the eraser tool and delete all the unnecessary filter around your main subject so that only that would have the oily effect. Then duplicate the original layer again and be sure its set below your main subject’s layer. Then go to Oil Paint filter again, only this time add effects that fit the rest of the image the best. Delete the main subject from it.
6. And now you have created a nice and balanced oil painting in Photoshop!


