How to Insert Shapes in Word 2013
Word 2013, like its predecessors, allows users to insert a variety of shapes into documents. It is helpful to know just how to insert shapes in Word 2013 since with this skill, you will be able to add callouts, arrows, flowchart shapes, squares, circles, stars and much more to your documents. This guide will walk you through the ins and outs of how to insert shapes in Word 2013.
Step 1: Launch Word 2013
Step 2: Open a document in which you wish to insert a shape
Step 3: Click on the Insert tab
![]()
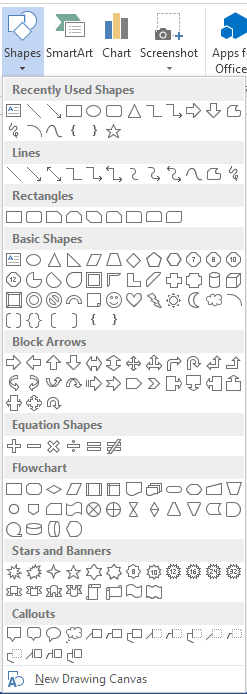
Step 4: Click on the Shapes icon and find the shape you wish to insert in the drop down menu
Step 5: Click on the desired shape and drag it where you wish to insert it in your document
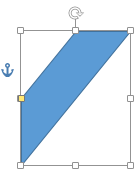
Step 6: If you wish to resize your shape, click on it so that sizing handles appear. Once these handles are visible, you can drag them to make the picture the right size
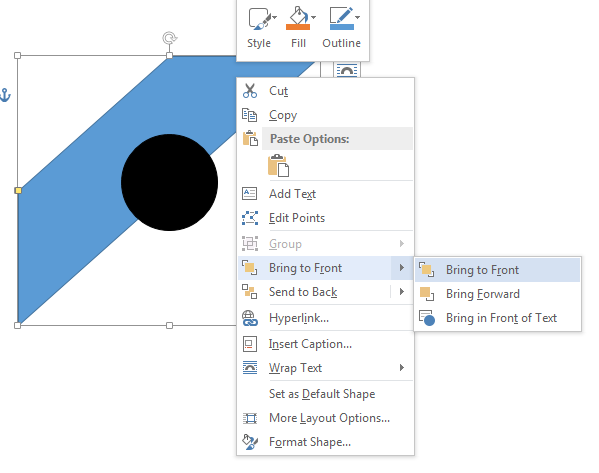
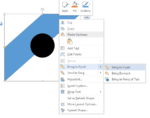
Step 7: If you wish to change the order of the shapes, in case of overlapping shapes, you have to right-click on any shape and hover over the Send to Back and Bring to Front settings and select the appropriate options