How to insert a Table in Word 2013
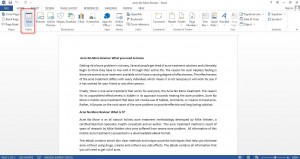
1. Open a Word document and click on Insert tab
2. Click on Table.
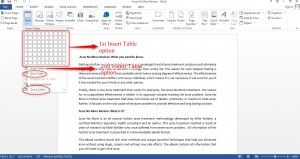
A drop down menu presents you with four different options to create tables – Insert Table (2 ways), Draw Table, and Quick Tables
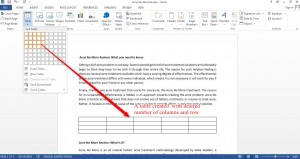
3. 1st – Insert Table option: Move your mouse over the squares to create a table.
4. Move the mouse horizontally over small squares for desired number columns.
5. Move the mouse vertically over small squares for desired number of rows.
6. Click once you have selected desired number of columns and rows to create a new table.
(Note: the squares are highlighted as you move mouse over them. You can see a table created simultaneously as you mouse over the squares)
2nd Insert Table option:
- Click on Insert Table option.
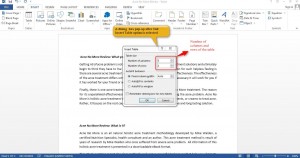
A dialog box pops ups which allows you to define the size of the table.
2. Select number of columns and rows for the table.
3. Click on OK
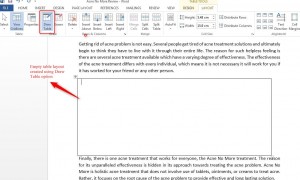
Draw Table: Allows you to draw table with mouse movements.
- Select Draw Table
A small empty square is created. Place your cursor at the right bottom corner of the square and drag the mouse pointer in right direction to enlarge the empty square.
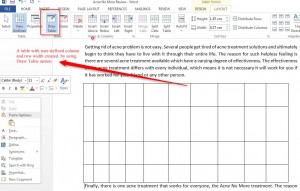
2. Create columns: Place the mouse pointer on the upper border of the empty square and drag the pointer up to lower border of the empty square to create a column. Repeat the procedure to create more columns
3. Create Rows: Place the mouse pointer on the left border of the empty square and drag the pointer in the right direction towards right border of the empty square to create a row. Repeat the procedure to create more columns
Note: the column and row width is not uniform but user defined.
And this is how to insert a Table in Word 2013


