How to Create a Table of Contents in Word 2013
If you ever have to create lengthy documents, learning how to create a table of contents in Word 2013 is the first step to making sure your document is easy to navigate. A table of contents is the most efficient way to organize different sections of a Word 2013 document. The latest version of Word allows you to create a table of contents in any document with unprecedented ease. This guide will walk you through the ins and outs of how to create a table of contents in Word 2013.
Step 1: Launch Word 2013
Step 2: Open a document in which you wish to create a table of contents
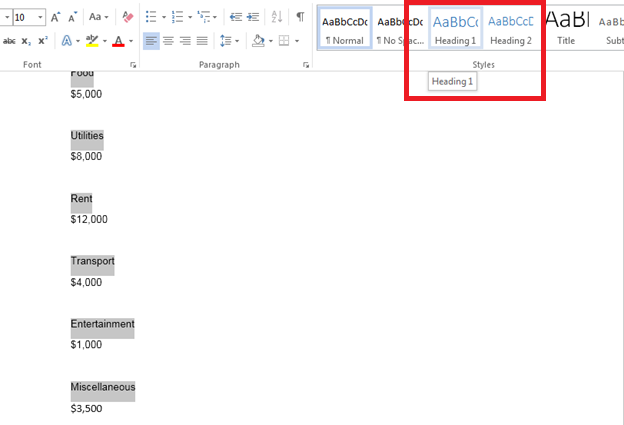
Step 3: Click on the Home tab
![]()
Step 4: Apply heading styles to headings that you want to use in your table of contents so that when you proceed with the remaining steps in this tutorial, Word 2013 will know which headings to pick up in your document
Step 5: Move the cursor to where you wish to insert a table of contents
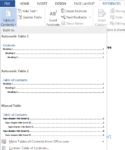
Step 6: Click on the References tab
![]()
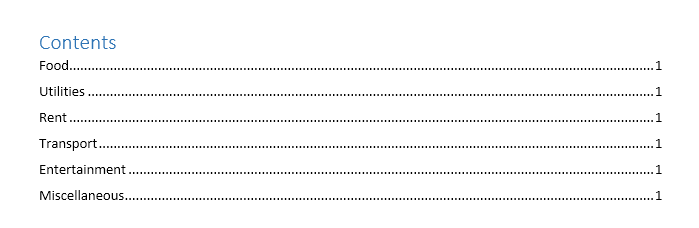
Step 7: Click on Table of Contents and select a suitable style for your table of contents from the dropdown menu

Step 8: Your table of contents will be created. It will automatically update itself every time there is a change in your document