
How to Add a Template to a Document in Word 2013
Templates are a great way to quickly and easily change the way your document looks. A template is a pre-designed document format that can be used on any document to change the way it looks. If you learn how to add a template to a document in Word 2013, you will have an easy way to change your document’s font style, font size, margin size, line spacing, and much more. Once you have created a template you like, you can easily reuse it whenever you want. This tutorial will teach you how to add a template to a document in Word 2013.
Step 1: Launch Word 2013
Step 2: Open a document in which you wish to add a template
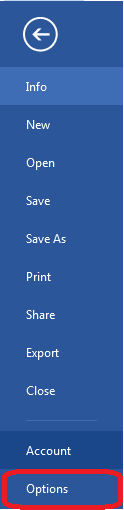
Step 3: Click on the File tab
![]()
Step 4: Click on the Options tab on the left menu
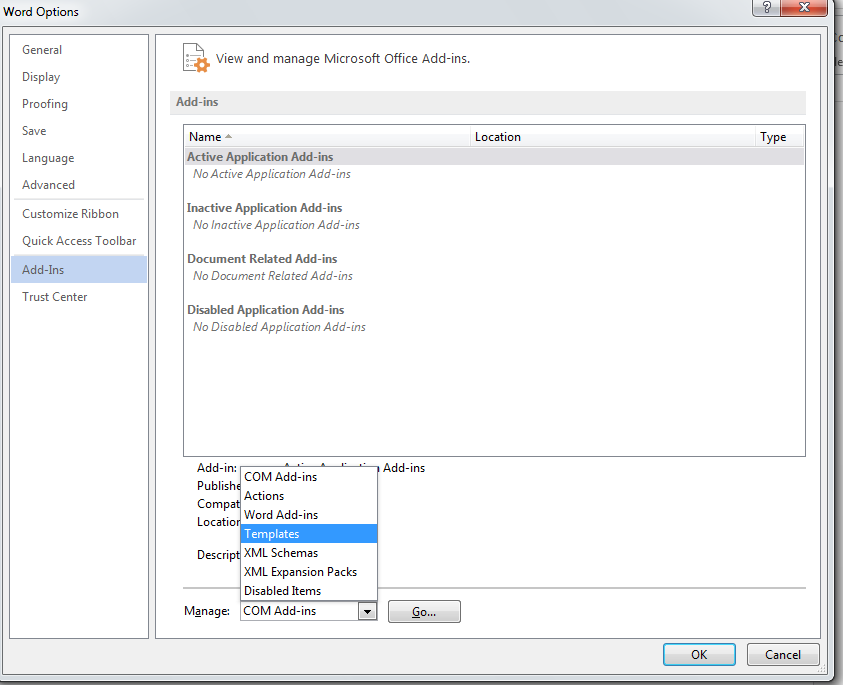
Step 5: Click on the Add Ins button on the left menu. Choose Templates in the Manage drop-down menu and click Go…
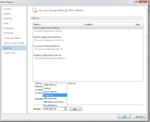
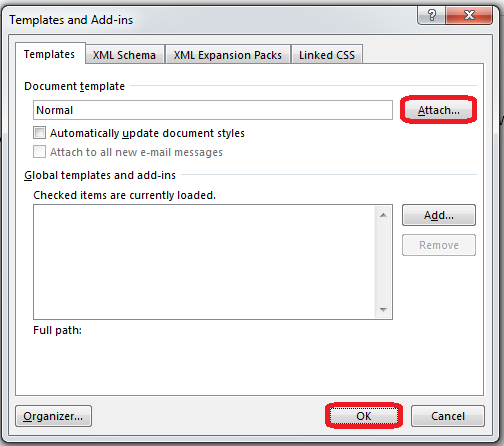
Step 6: Click on the Attach button and choose whichever template you wish to add on to your document. Once you have selected the template, click OK
Step 7: The template will now be added to your document