How to Create a Template in Word 2013
Learning how to create a template in Word 2013 can be very beneficial if you have to create similarly styled documents over and over again. If you learn how to create a template in Word 2013, you can recreate document styles with the mere click of a button. You will have a pre-set starting point that you will no longer have to spend time recreating each time you create a document. This step-by-step guide will walk you through the ins and outs of how to create a template in Word 2013.
Step 1: Launch Word 2013
Step 2: Open a document and create a starting point that you will use in the future as a template
Step 3: Click on the File tab
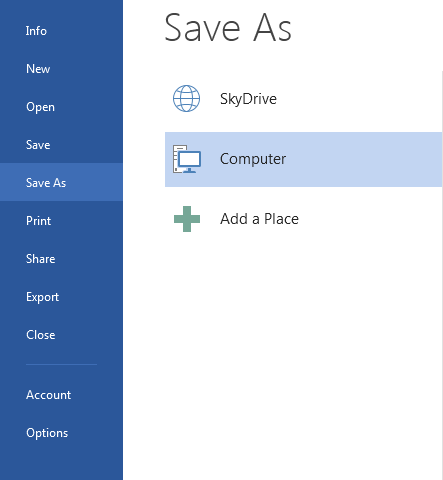
Step 4: Select Save As and double-click Computer
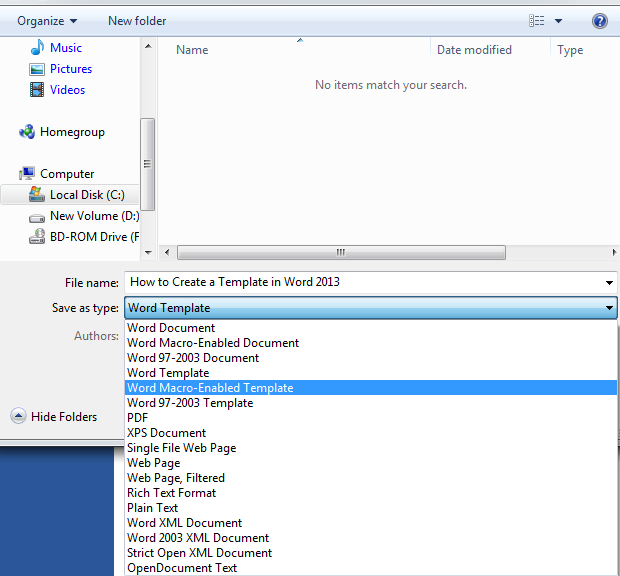
Step 5: Enter a name for your template in the File Name textbox and in the Save as Type menu, select Word Template. If your template contains macros, make sure you select Word Macro-Enabled Template. If you wish to use your template in Word 97-2003, select Word 97-2003 Template. Once you have selected the appropriate file type, click Save
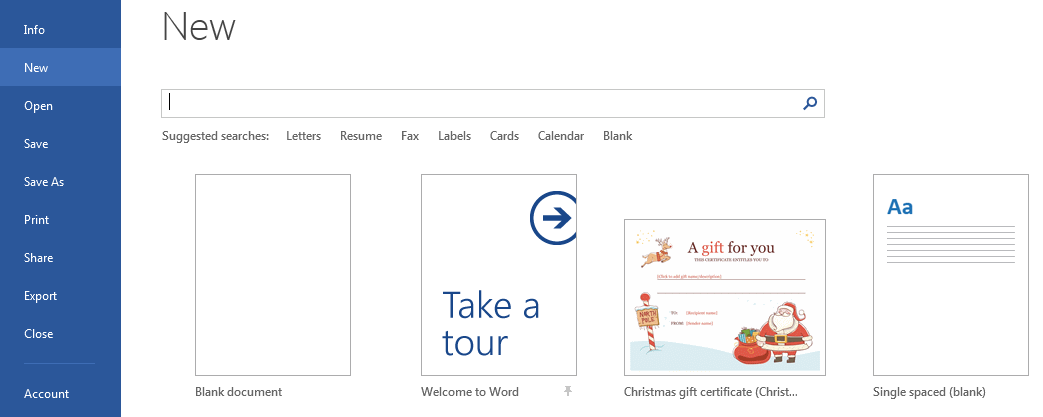
Step 6: Now that you have created your Word 2013 template, if you wish to use it, click on the File tab and click New. Select Personal and click on your custom template in the list


