How to use the Scale-to-Fit Printing Option in Excel 2013
Those of you who have tried to print an Excel spreadsheet before probably already realize the benefits of learning how to use the scale-to-fit printing option in Excel 2013. Due to the nature of spreadsheets, it can be tricky getting those last few rows and columns onto the same page as the rest of your spreadsheet. Luckily, Excel 2013 has just a feature to answer your problems. This step-by-step guide will teach you how to use the scale-to-fit printing option in Excel 2013 so that you never have to worry about printing your spreadsheets again!
Step 1: Launch Excel 2013
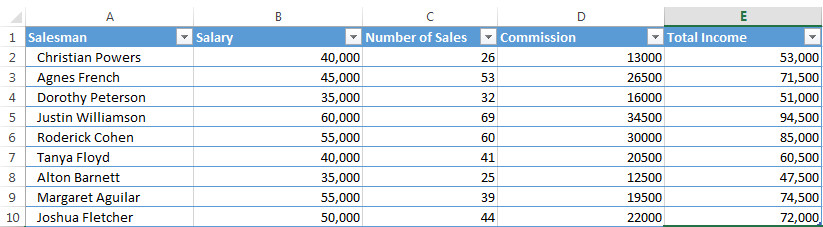
Step 2: Open the spreadsheet which you wish to print
Step 3: Click on the Page Layout tab
![]()
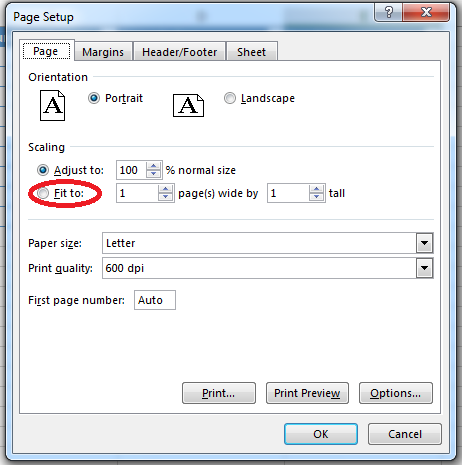
Step 4: Click on the Dialogue Launcher in the Scale to Fit section in the Page Layout tab

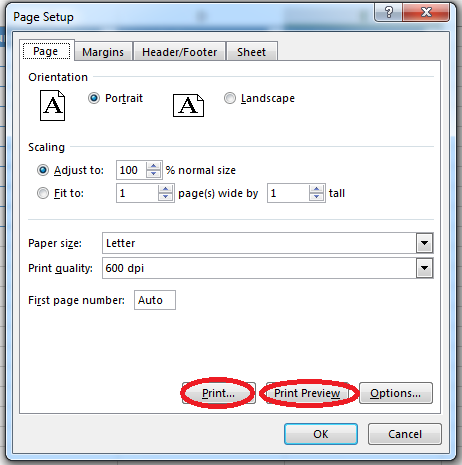
Step 5: Select the Fit To option in the Page Setup menu. You can choose how many pages you wish to enter the data in here. Remember not to put too much content on one page or else it will become too small to read!
Step 6: A great way to fit more onto your page is to adjust the margin dimensions. Click on the Margins tab and change the size of the margins on your spreadsheet printout

Step 7: Remember to click on Print Preview before you click on Print…. so that you can see what exactly your document will look like before you actually print it