How to publish Blog Posts in Word 2013- Word 2013 allows you to post to different blogs directly through its interface. In general, there are several steps involved in posting content on the blog. After creating the content, you have to open the login page of the blog, enter username and password and copy the article in appropriate ‘Add Article’ section in the dashboard. If you want to insert images into the post, you have to upload them separately and then insert them in the post at appropriate places. However, things are simple with Word 2013. Let’s take a look at steps involved in posting articles to different blogs.
1. Open Word 2013
2. Click on File
3. Locate and Click on Share
4. Click on Post to Blog
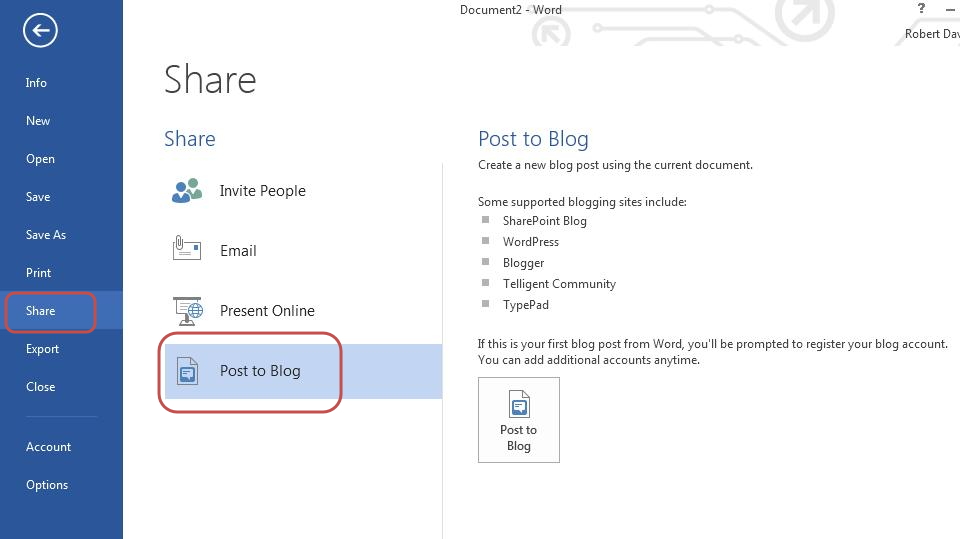
5. Click on Post to Blog listed in the right column

A dialog box appears which presents you with two options- Register Now and Register Later.
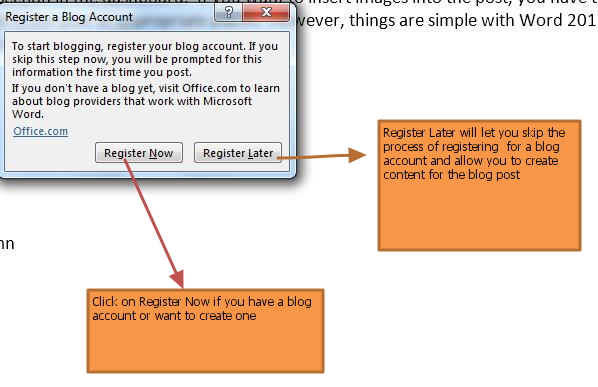
Note: Clicking on Register Later allows you to skip the registration procedure and you can proceed to write content for the blog post.
6. Click on Register Now
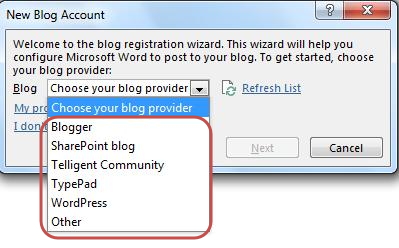
A dialog box appears which allows you to select your blog service provider. You can find different popular blog service providers. If your blog service provider in not in the list, click on Other.
Note: For demonstration purpose we will post content to WordPress blog- Tutorials Tree.
7. Select WordPress and click on Next
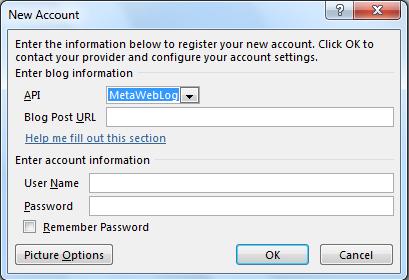
8. In next window, enter the blog name in <Enter your blog name here>
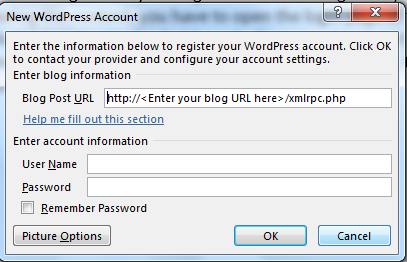
Note: Do not modify any other part of blog URL in above step.

9. Enter Username and Password for the blog account
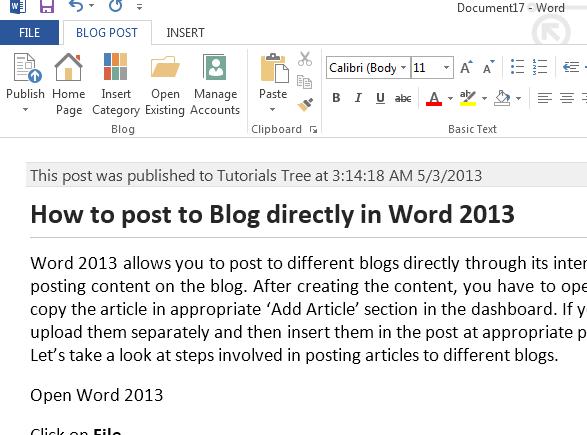
Word 2013 will try connecting to the server. After a connection is established, you will be automatically taken to the section where you can create content for the blog post
If you intend to use pictures in the blog post, you need to sign up with a picture services provider. You can also upload images to any photo website and provide URL of the images.
If your blog service provider is also your image service provider- click on My blog provider
If you have any other image service provider- click on My own server
If you don’t have images for the blog post- click on None- Don’t upload pictures
10. Create content for the blog post and click on Publish

A message informing you successful publishing of the blog is displayed.
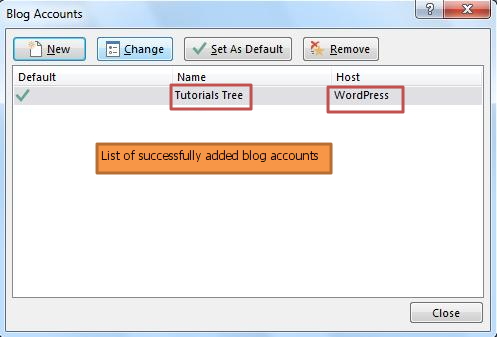
You can also edit any already published blog posts in your account. You need to only provide credentials of you blog account once. Thereafter, you will find your blog account listed in Word 2013. You can add several blog accounts in Word 2013.
11. Click on Manage Accounts to view successfully attached blog account with Word 2013 blog interface.