

Most of the WordPress themes allow users to create dynamic drop down sub menu from dashboard without changing or writing a single code.
In this tutorial you will learn how to make a dynamic drop down submenu in just 20 seconds.
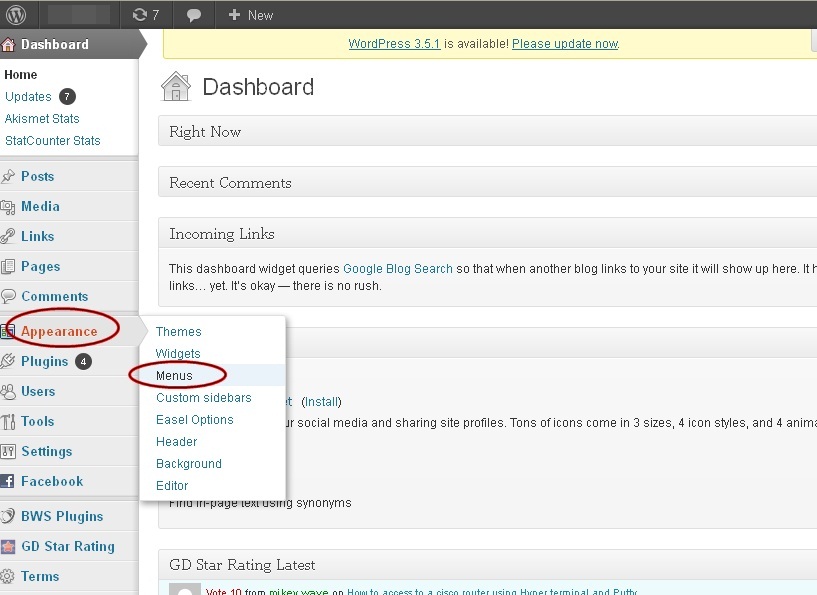
01. To create sub-menu at first log in to www.yoursite.com/wp-admin. In dashboard go to appearance. You will find several options. Click on “Menus” option.
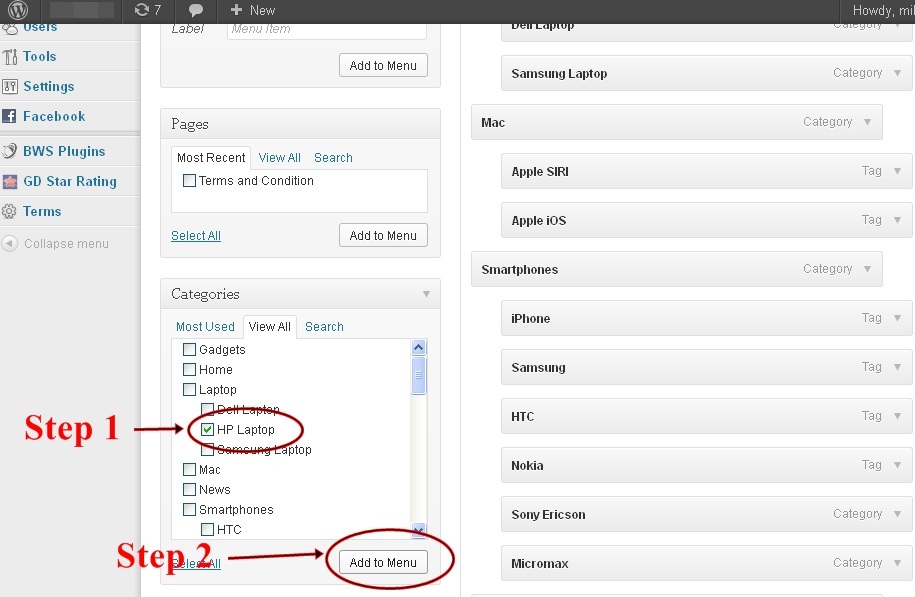
02. Now at the right of the menu page you will find some menu options like Custom Links, Pages, Categories and Tags option etc. Click on the check box to add any post, tags or pages as a Menu or Sub-Menu . Now click “Add to Menu”. It will be added to menu list.
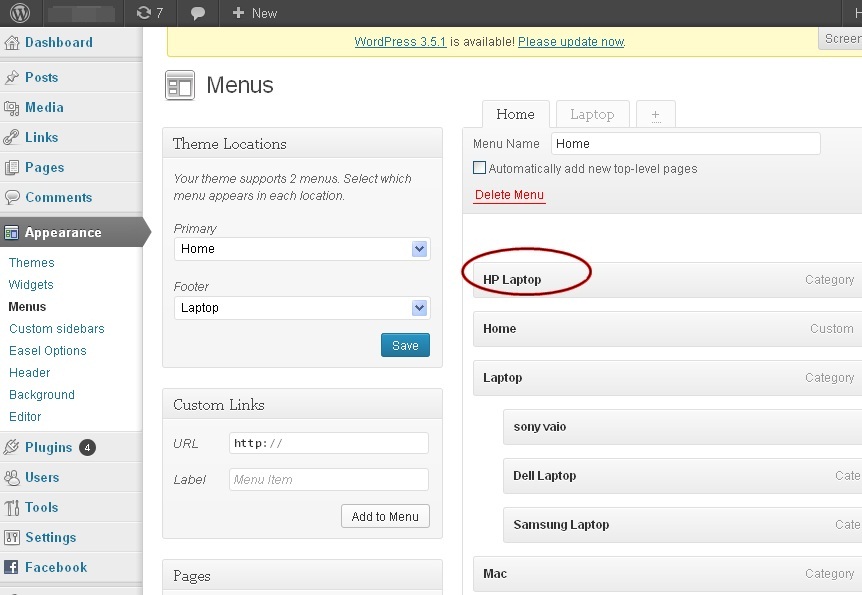
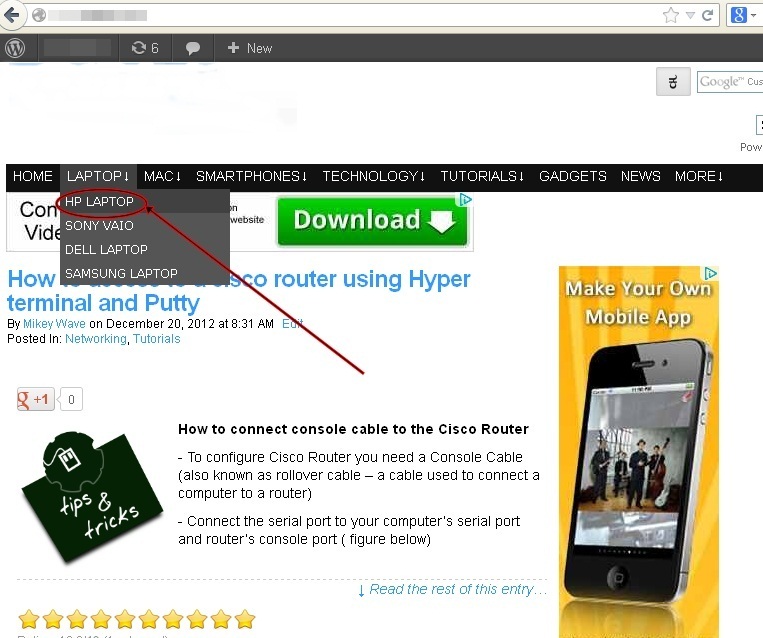
03. Now you can will see a new menu at the top (I added HP Laptop as a sample to the menu).
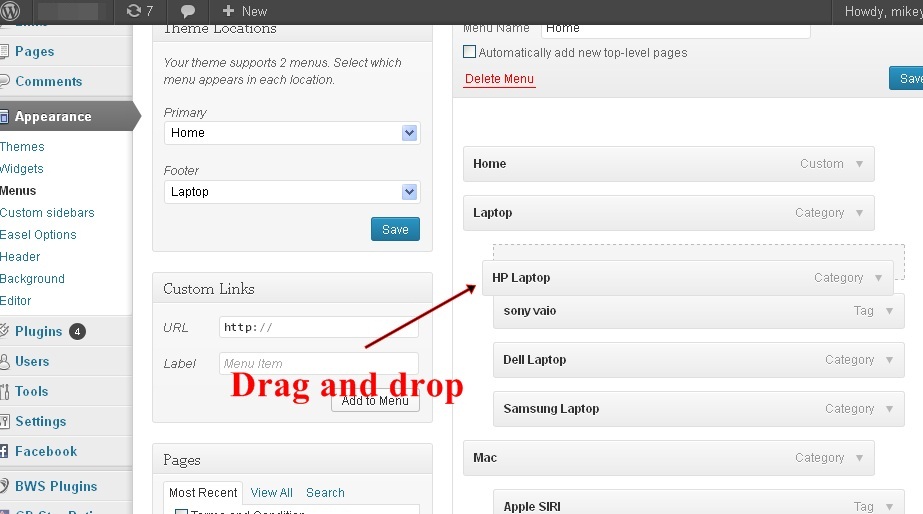
04. Next task is to turn the new menu item into a sub menu. For example we want to make HP Laptop a Sub-Menu of Laptop. So to do that just click on the menu, drag the menu (HP Laptop Menu Bar in example) and position it slightly right under another menu bar (Laptop Menu in example). Now save it.
05. Now check your home page to verify the changes are there.
Note that if you want to position or if you want to add more Sub-menus under the sub-menu then just drag and drop the new menu more right to the sub-menu.
For example you want to add more sub-menus like HP Pavilion under HP laptop. Then just drag and drop it right of the HP Laptop. More drop down sub-menu will be created.