How to Add and Remove Bookmarks in Word 2013
Bookmarks are a great way to organize large documents since they help make it easier for readers to access different parts of the document. If you learn how to add and remove bookmarks in Word 2013, you will be able to access any part of your document without having to scroll through pages of information that is irrelevant to you. Once your document has bookmarks, you can simply click on any bookmark and access the corresponding part of the document. In this tutorial, we will teach you how to add and remove bookmarks in Word 2013.
Step 1: Launch Word 2013
Step 2: Open a document in which you wish to add bookmarks
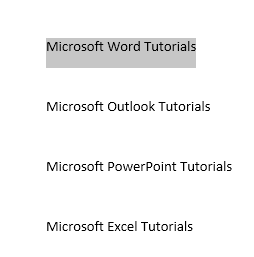
Step 3: Select (highlight) the text on which you wish to create the bookmark

Step 4: Click on the Insert tab
![]()
Step 5: Select Bookmarks in the Links section

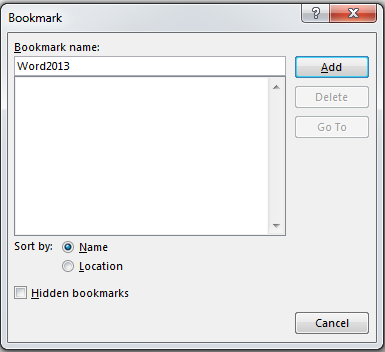
Step 6: In the Bookmarks dialogue box that opens up, enter in the name of the bookmark and click Add

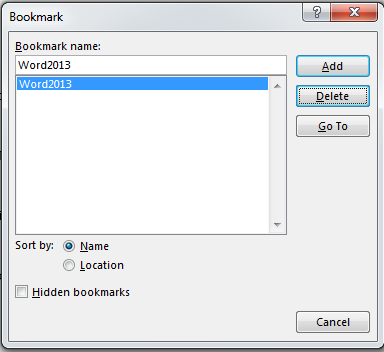
Step 7: If you want to delete a particular bookmark, go to the Bookmarks dialogue box, select the bookmark you wish to delete, and click Delete

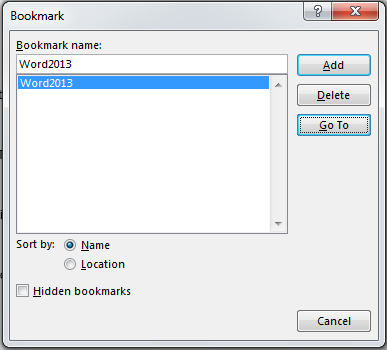
Step 8: If you want to navigate to a particular bookmark, go to the Bookmarks dialogue box, select the bookmark you wish to navigate to, and select Go To


