If you want to make your posts informative and interesting, adding images can greatly help. You can insert images to your post easily with the help of the following steps.
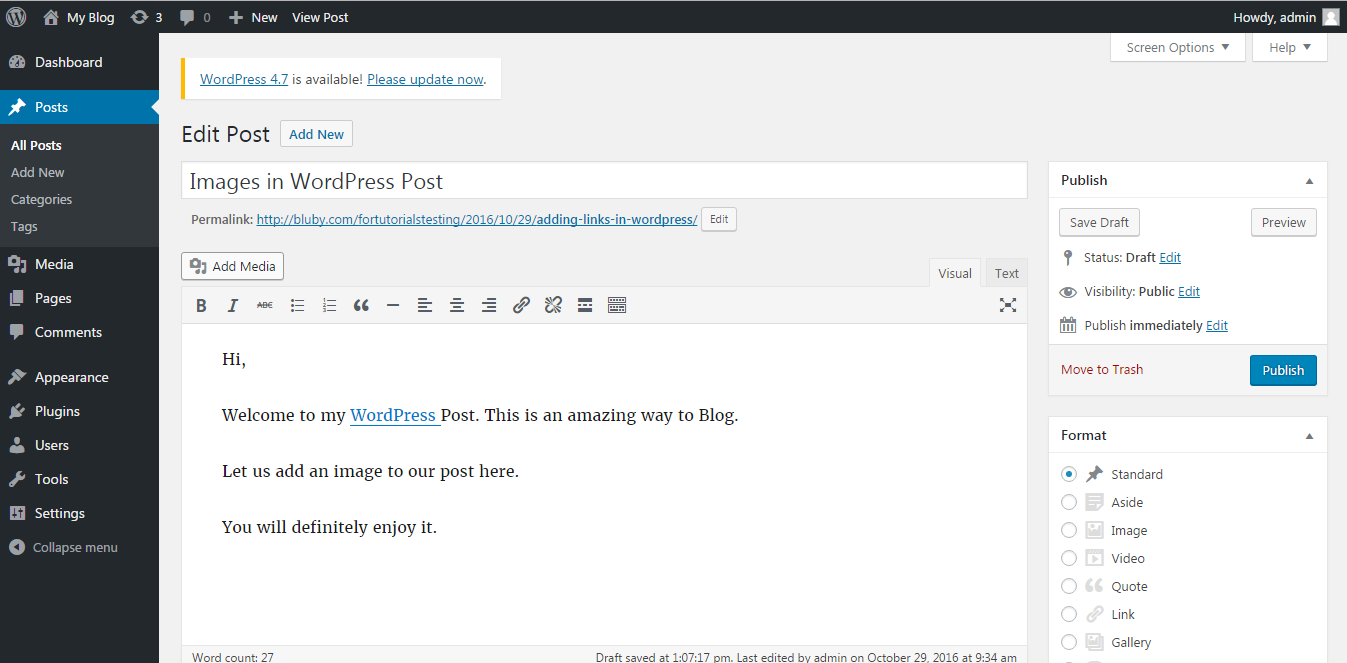
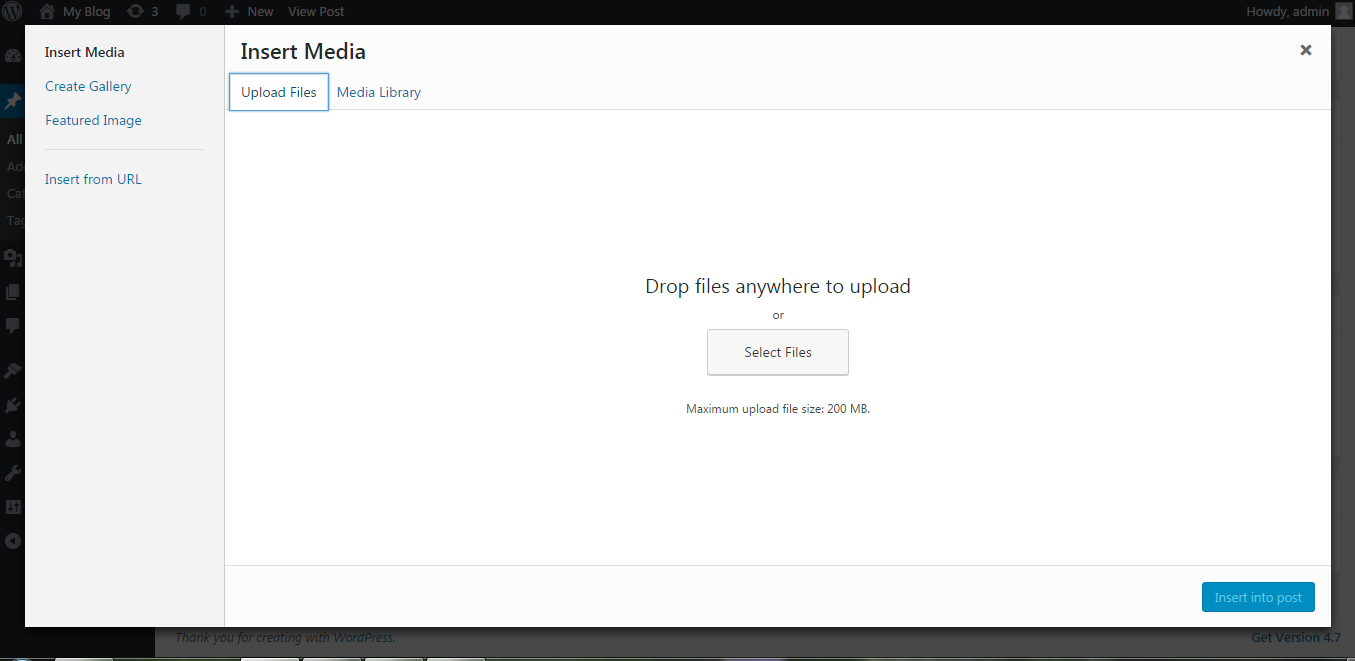
1. Decide where you want any image to be inserted in your post. There is an Add Media button above the editor tool bar opened while creating your WordPress post. Click on the button- Add Media and you will find a box with an option Insert Media.
2. You can use this box to upload any existing file from your media library. Also you can try to upload a new file. You can use the option of Select Files in order to upload an image. Search the image you want to inset and click Open.
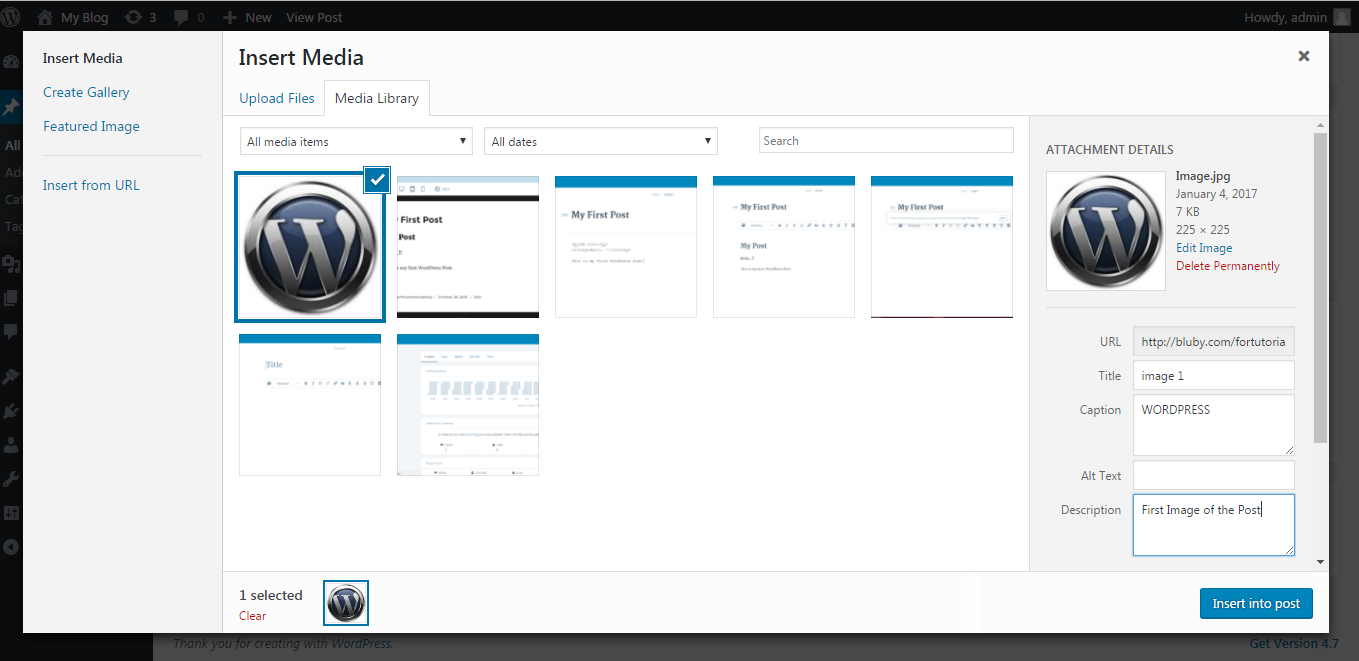
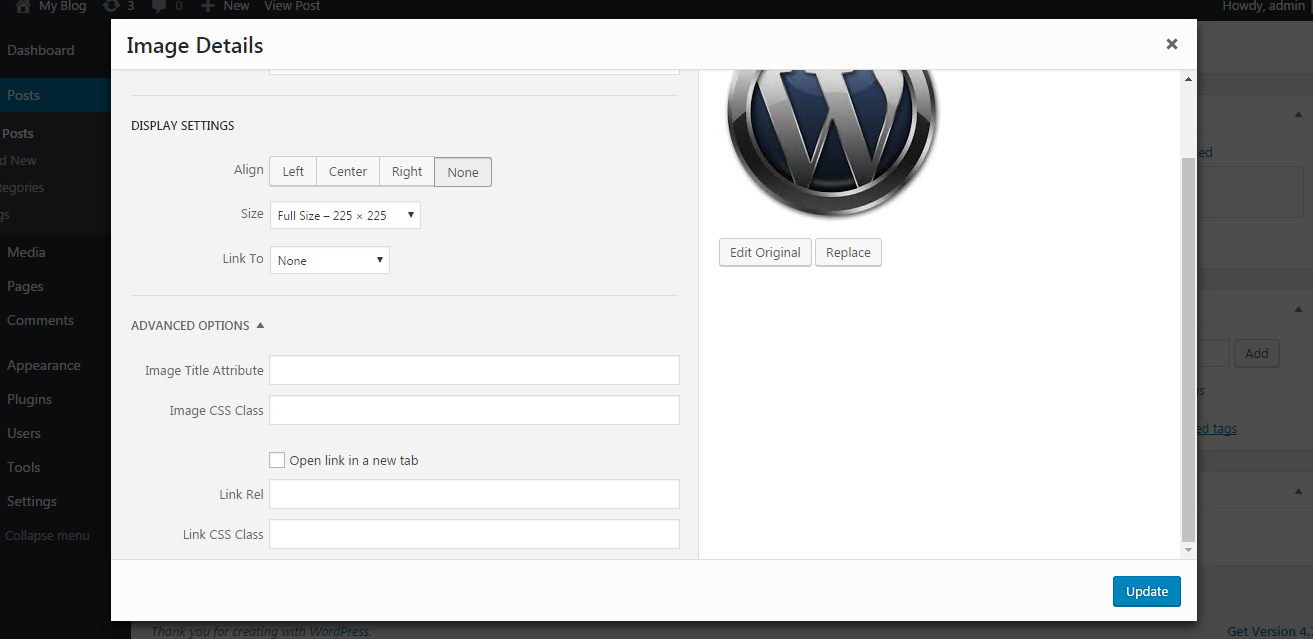
3. Once the upload is finished, the image will also get added in the media library. You also get an option to view and change the attachment details used in the page. There are options to change the size and alignment of the image to left, right or center. You can edit the Title of the image, Alt text and the Description. There is an option to choose the URL of the image too.

4. The image will have a checkbox, select the checkbox and click on the button Insert into Post. With this, the image will be added to the post.
5. When you click on the inserted image, you can see an image icon. Clicking on this icon will give you the details of the image which you can edit like the title, link URL, alternative text and the caption. This image can be selected in order to link with the image files.
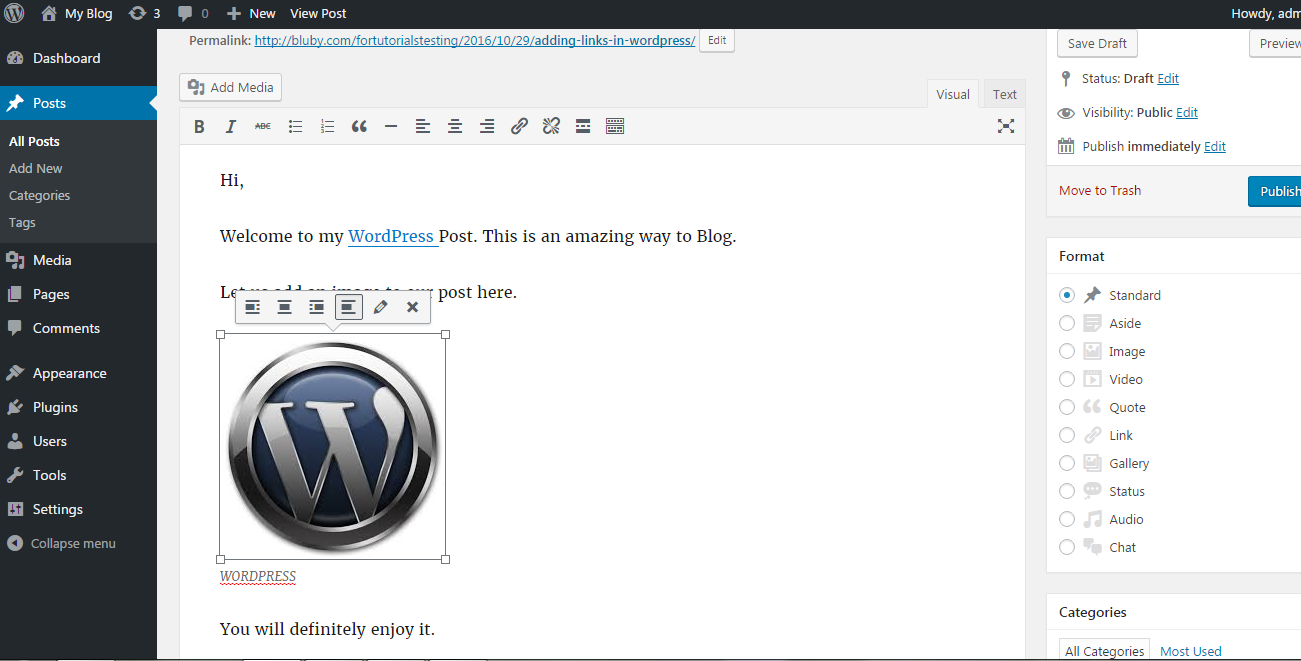
6. In the advanced settings tab, image URL, width and height, styles and properties of of the image can be seen.
7. There is an option on upper left corner of the image in order to delete your image from your post.
8. There is an option to create a gallery and set the featured image for your post. This can be used by your WordPress theme.
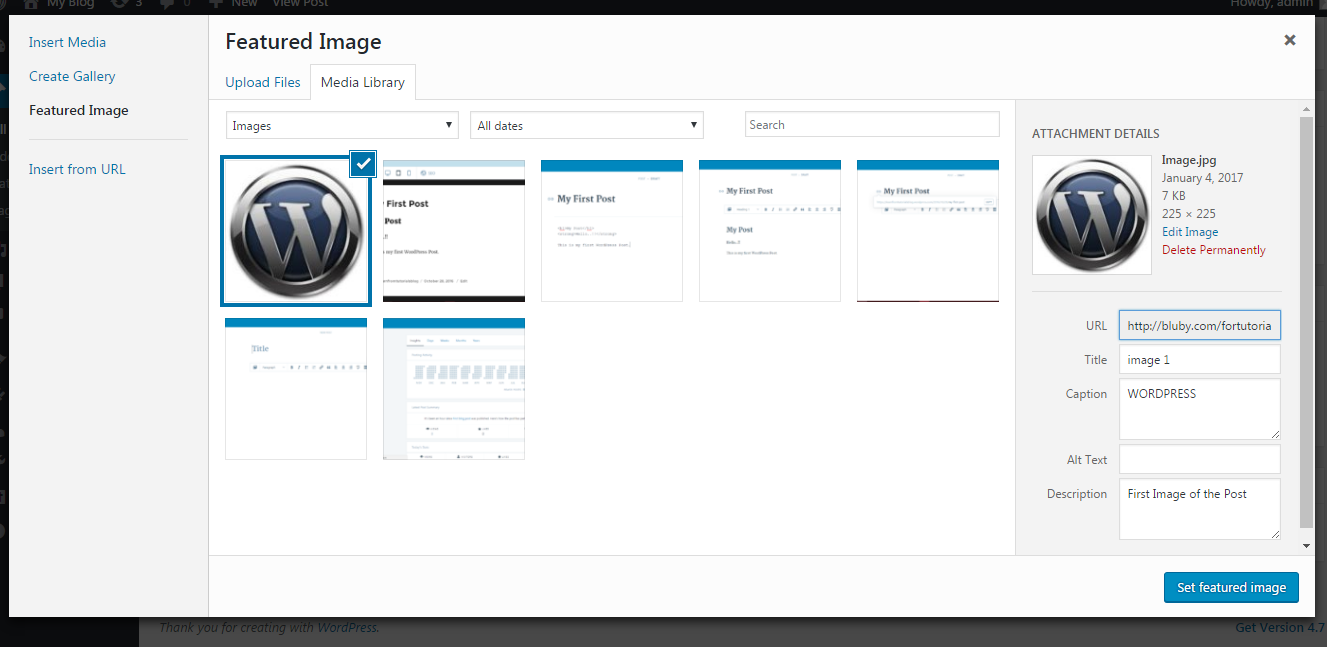
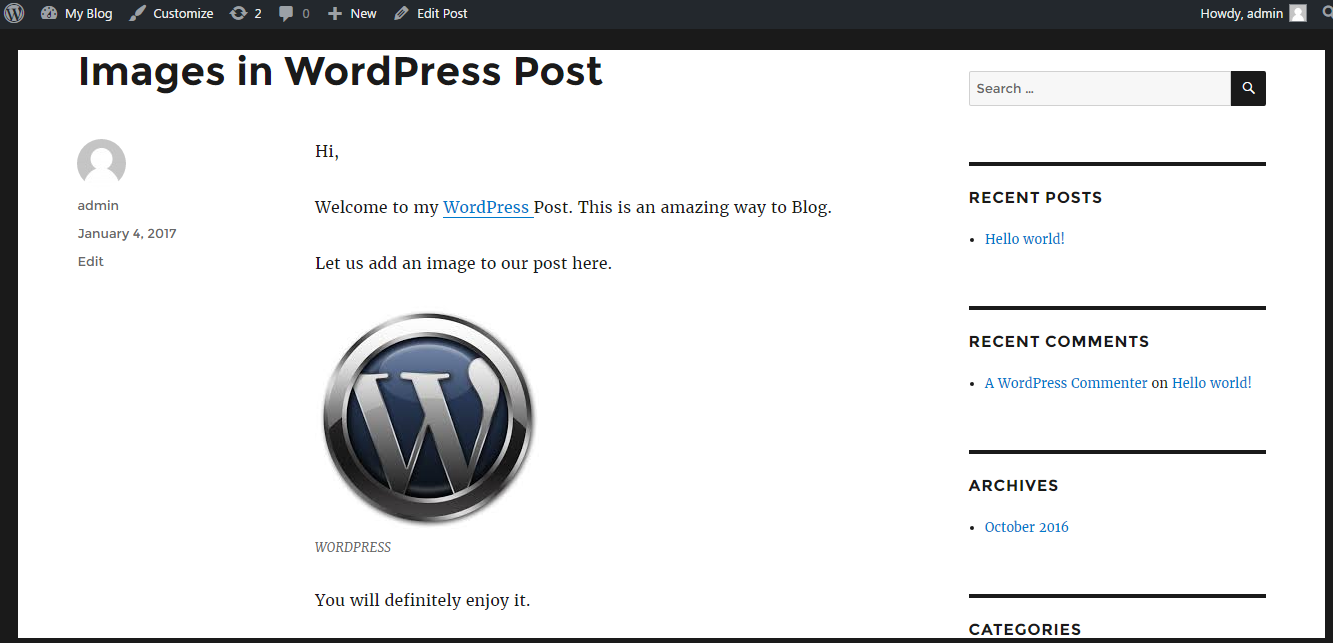
9. After choosing the featured image, you can preview the post and the image that has been added by you.