The Outline Of Word 2010
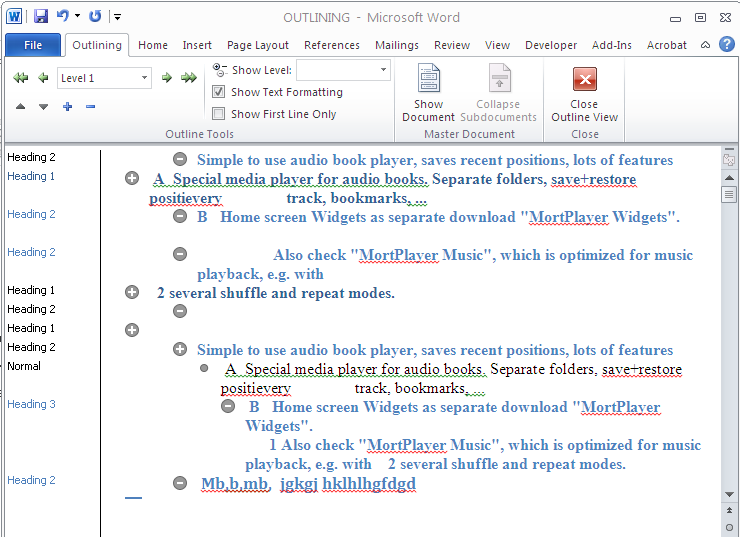
Closely tied to the use of a particular set of styles is Word’s outlining capability, long one of Word’s strongest features. When you use Word’s Heading 1 through Heading 9 styles in a document, you can use Word’s Outlining mode to organize and reorganize your documents. Not that you don’t need to use all nine levels. I typically use only three or four, sometimes as many as five or six, and very rarely all nine. Figure 4-2 shows a document using Headings 1 through 4 for the levels of organizational hierarchy, that were needed. Here the style area is shown at the left so you can see what styles are applied.
FIGURE 4-2: Outlining enables you to see an overview of your document’s organization. The style area at the left reveals the applied Heading styles.
When displayed in Outlining view, lower-level headings are automatically indented so that the organization level is visually evident. Body text (non-heading text) can be suppressed so that you view only the overall organization.
Using Outlining to Organize
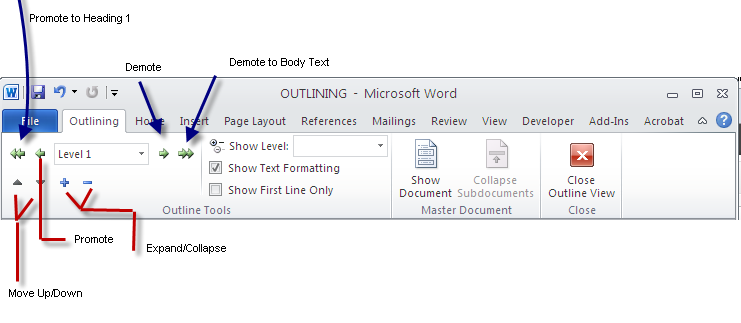
Suppose, in reviewing this document, your boss decides that Chapters II and III should be reversed. Without benefit of Word’s outlining mode, In outlining mode, however, the task is much easier and less error-prone. Use the Show Level control, shown in Figure 4-3, so that no detail below Heading 1 is showing. In this case, you would select Level 1. Click anywhere in the Chapter II line, and click the move-down control, also shown in Figure 4-3. This moves Chapter II to below Chapter III, including all text and heading levels .
FIGURE 4-3: Outlining mode gives you tremendous organizational power.
If you’re fond of keyboard shortcuts you can press Alt+Shift+Down, instead of clicking the move-down button. Alt+Shift+Up would move the level containing the insertion point up.
Using the Demote control (Alt+Shift+Right) reduces the organizational level of the current selection by one. For example, if the highest level in the selection is Level 2, then it is demoted to Level 3, and all collapsed levels below that are also demoted. Therefore, Level 3 becomes Level 4, Level 4 becomes Level 5, and so on. The Promote control (Alt+Shift+Left) works in precisely the opposite direction.
Situated between the Demote and Promote controls, the Level control is used to change the level of the selection as well. If you want to move something from, for example, Level 2 to Level 6, it might be easier to reset its level to 6 here, rather than demoting four times.
Note
Don’t confuse the different level settings. The Show Level setting affects only what you see. The Level setting on the left, however, affects actual document contents.
The Expand and Collapse buttons are used to show additional detail contained within the currently selected level. If Show First Line Only is selected, you won’t see all the text in that particular document section.
Custom Levels for Non-Heading Styles
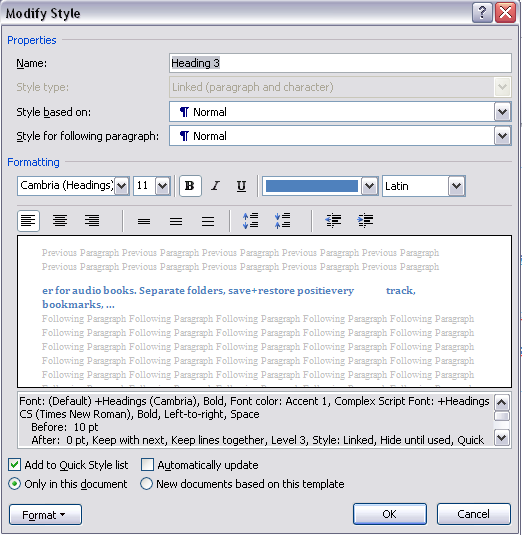
Sometimes it can be useful to treat certain document styles, such as document titles, aptions for tables, figures, and so on, as if they were heading levels in order to make them visible in Outline view. At the same time, you usually don’t want to use the same styles you use for headings (except possibly for the document title when the document is to become part of a larger document). Word enables you to associate any style with any outline level.
For example, let’s associate the Caption style with outline Level 9. Assuming that you’re not already using Heading 9, this then provides a way for you, in Outline view, to see the location of anything using the Caption style.
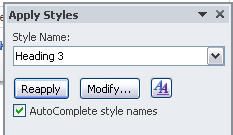
To modify the Caption style, press Ctrl+Shift+S to display the Apply Styles task pane, and type Caption, but do not press enter. Pressing enter would assign the Caption style to the current selection (which is fine if a caption is selected, but it doesn’t have to be in order for you to modify the Caption style). With ‘‘Caption’’ showing in the Style Name box, click Modify ➪ Format ➪ Paragraph ➪ Indents and Spacing tab. In the General section at the top, set Outline level: to 9 (or to any level at which seeing the locations of captions would be useful). Choose OK ➪ OK to close the open dialog boxes, and then dismiss the Apply Styles task pane.
Outlining versus Using the Navigation Pane Headings Browser
A similar tool is the Navigation Pane’s headings browser — new in Word 2010. Unlike the Document Map feature in previous versions of Word, the headings browser can be used to reorganize or shuffle document contents in much the same way that outlining can be used. However — and I hesitate to say this lest it become an excuse not to use Heading styles — the headings browser does not require the use of Heading styles.
Without styles that contain organizational-level settings, however, hierarchical information is hard to keep track of when you’re moving things around, and what you see in the headings browser pane won’t necessarily indicate which headings are subordinate and which are superior.
Hence, the headings browser is far from a perfect substitute for outline level styles.On the other hand, the headings browser is a great tool for seeing an overview of someone else document and applying Heading styles to it. Like an X-ray machine, it can be used to diagnose and repair problematic formatting. Ah, yes. That’s the ticket! Not instead of Heading styles, but as a route to proper formatting. Whew!
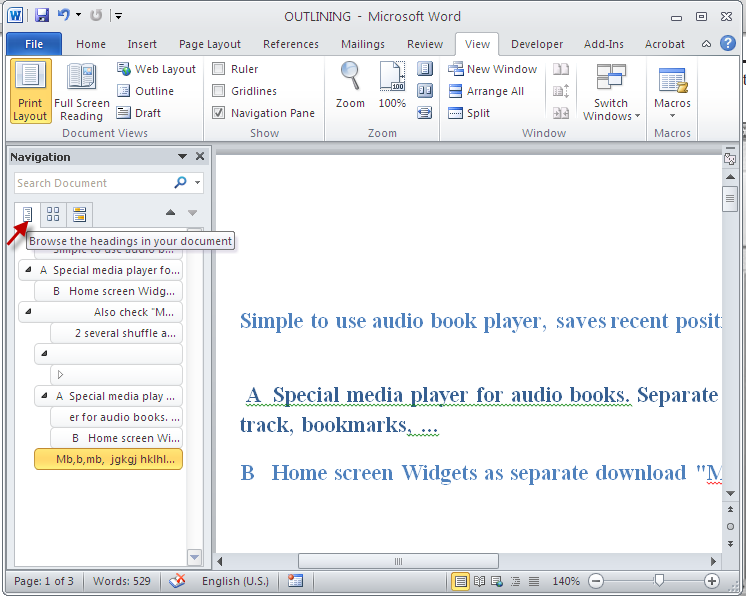
In any event, to display the Navigation Pane’s headings browser, shown in Figure 4-4, click the Navigation Pane checkbox in the View ribbon tab, then click the first tab. A screen tip shows us that this will let you ‘‘Browse the headings in your document.’’ The headings browser enables you to see your organization while your document remains in another view, such as Print Layout or Draft view. For many users this is a lot more convenient than trying to work in Outline view, or having to shuffle two windows or a split view.
FIGURE 4-4: The headings browser provides an overview of your document, even if Heading level styles were not used.
Clicking a heading in the Navigation Pane switches the view in the document to that heading. Use the and buttons to expand and collapse levels displayed in the Navigation Pane.
Tip
Right-click in the Navigation Pane headings browser for a list of organizational display options. Page Thumbnails, Too!
In Figure 4-4, notice the middle tab just below the Search Document box in the Navigation Pane. The middle pane displays page-thumbnail views of the document. This allows you to browse by page. Unlike the headings browser, however, the page browser is for viewing only — you cannot use it to move pages around.
