How To Insert a Line In Microsoft Word
Lines are the most important aspect design element of every Microsoft Word Document. You might need to insert a horizontal or vertical line in your document for various purposes. In this article, we will be sharing a detailed guide to insert a line in Microsoft Word Document.
You can insert a horizontal or vertical line in Microsoft Word Document in multiple ways. We have mentioned a few popular ways to help you insert a line in Word Document.
Quickest Method: How to Insert a Line in Microsoft Word with Keyboard
Did you know that you can easily add a line in MS Word by typing just a few characters from your keyboard? Well, MS Word has AutoFormat feature that enters a line of your choice in the document with just a few clicks.
This feature provides you with an option to insert lines of different designs with just a few clicks. All you need to do is place the cursor and enter the specific characters.
For example, you can place the cursor and type *** and then press Enter.
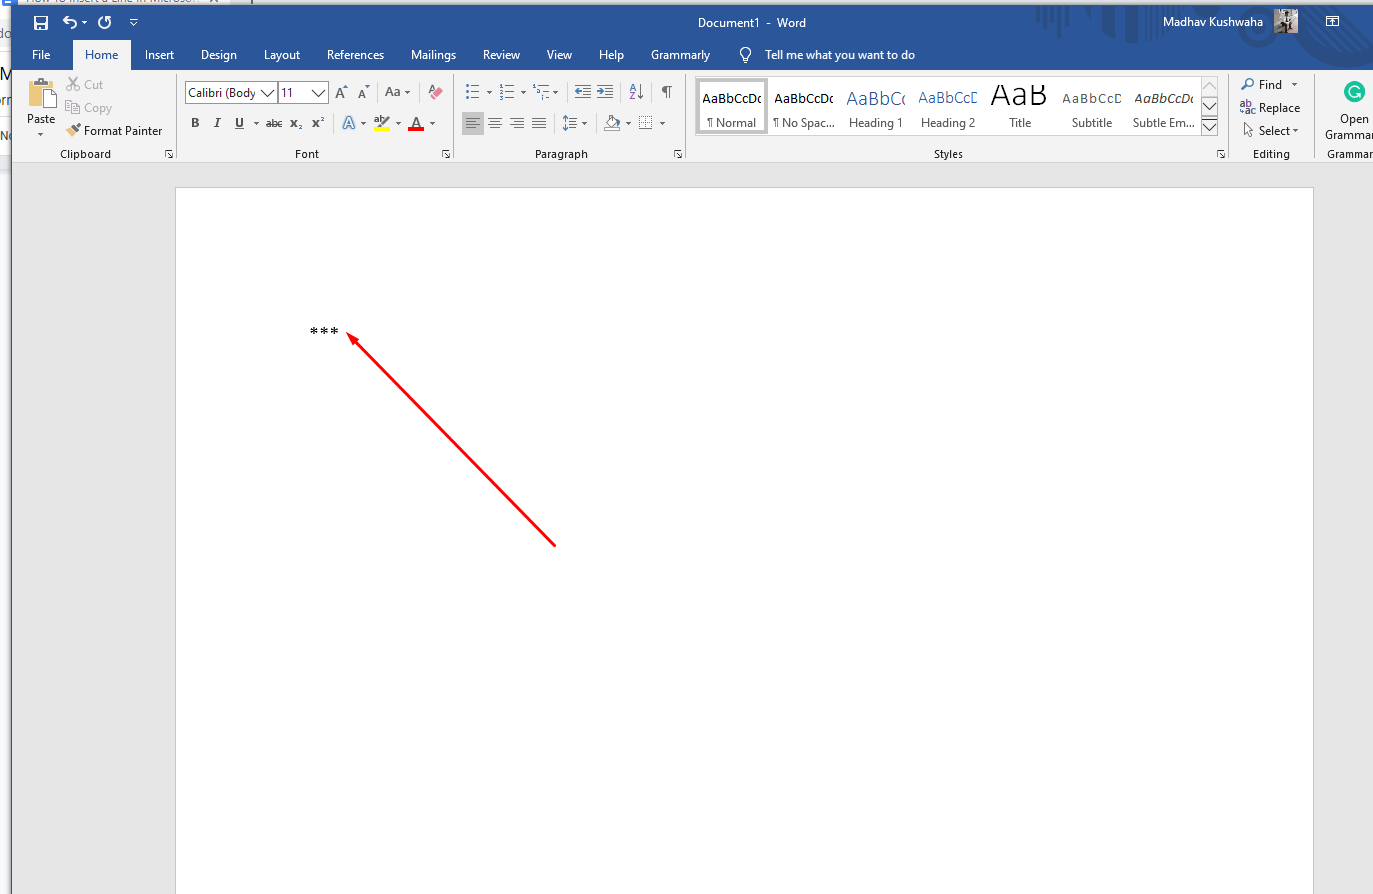
As soon as you press Enter, a dotted line is inserted.

You can insert six different types of lines in your document. They are mentioned below in the screenshot.
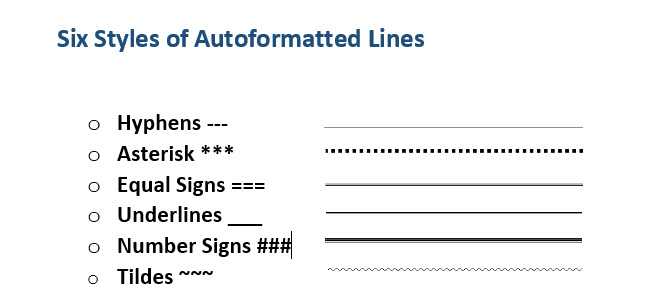
You can enter the above-mentioned characters and then press Enter, you can easily Insert a Line of your Choice in MS Word.
However, the line takes up the entire width of the page. Also, if you insert the line using this method in a column, it matches the width of the column. If you plan to add content above or below the line, you can place the cursor and start typing.
It is one of the easiest methods to Insert a Line in Microsoft Word. However, you need to remember the shortcodes for different types of lines.
Inserting a Line in Microsoft Word using Shapes
The shape menu of MS word consists of various options to insert different types of lines in Word Document. You can insert the lines in MS Word using Shape Menu at different angles as per your requirement.
Please follow the below steps to insert line in MS Word using Shape Menu.
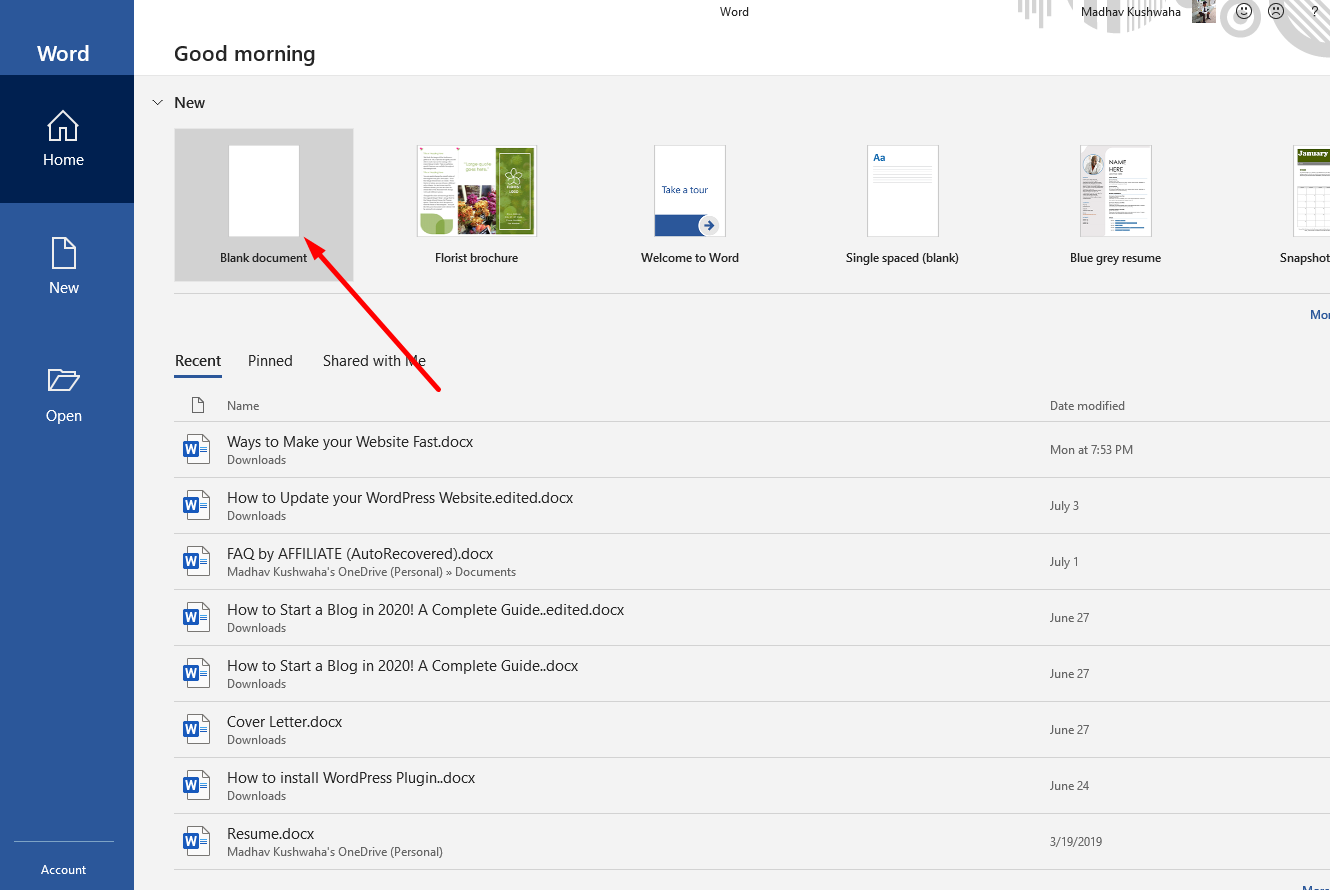
- Open the Microsoft Word App.
- Click on Blank Document to create a new document. You can even insert into a
- Position the cursor where you want to insert a line.
- Go to Insert
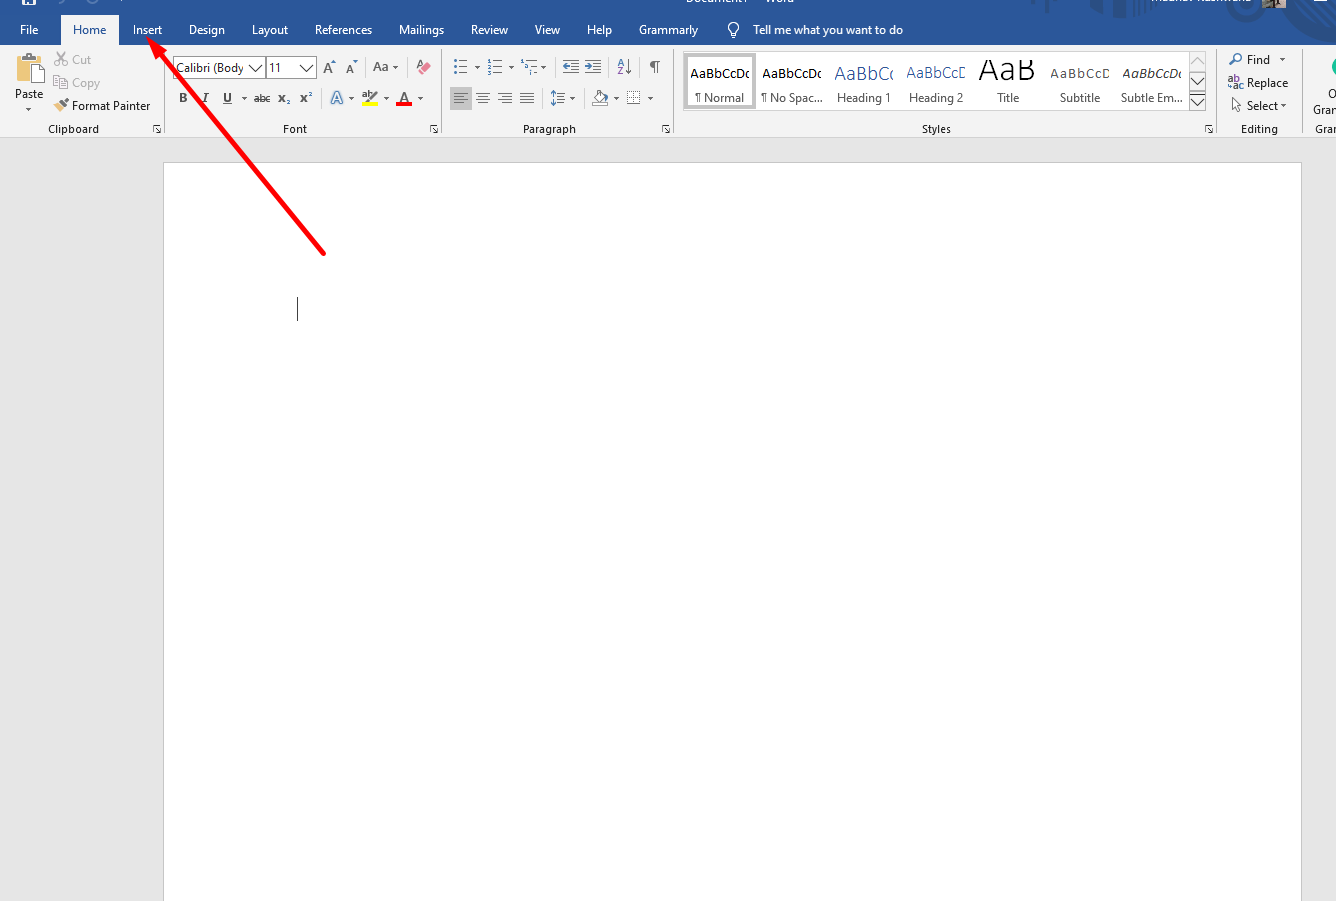
- Click on Shapes and select the Line you want to insert from the Lines Group.
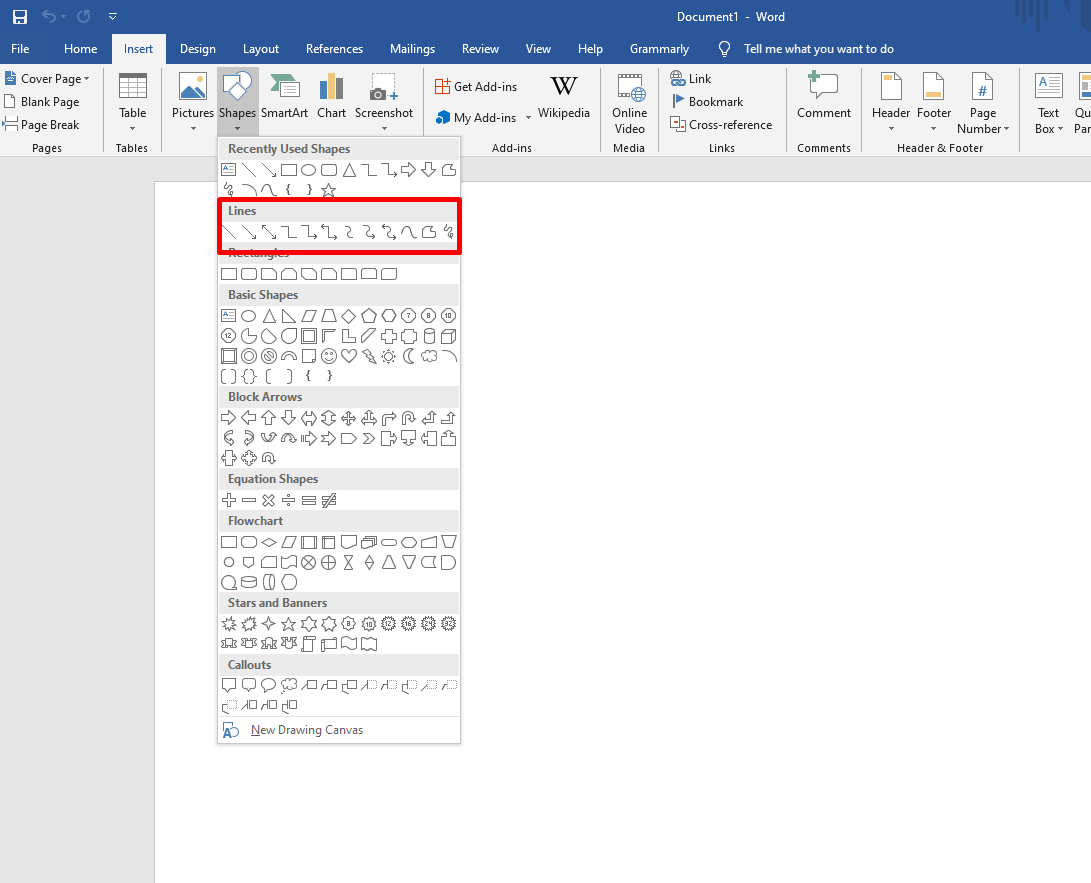
- Click on the Line you want to insert into your Word Document.
- Click on the place you want to start your Line from and Drag it to the End Point and leave the Mouse button once you have inserted Line in Microsoft Word.

- You can Right Click on the line to customize and format the Line you inserted.
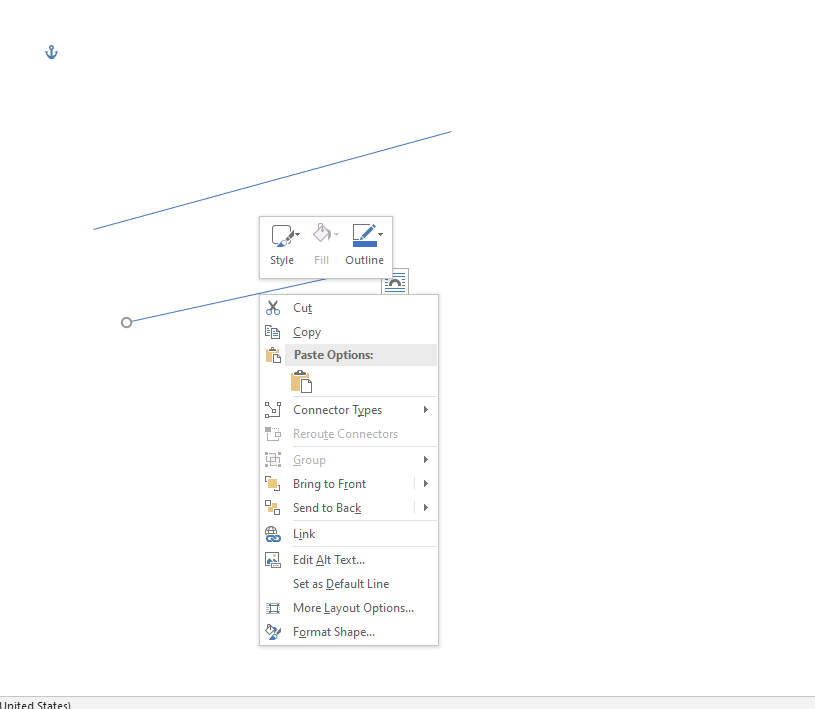
If you follow the above tutorial step by step, you will see that the line is inserted into your Word Document as shown in the screenshot.