How to Add and Change Border in Microsoft Word
Microsoft Word allows you to add attractive borders on almost every type of your documents such as text, images, and tables. By Default, Microsoft offers more than a hundred border options to allow you to surround your page or document with clean and fancy borders.
Moreover, you can add a border to provide a 3D or shadow effect to your Word Document. Also, you can add a border to a single page or an entire document.
How to Add a Border to Microsoft Word?
Please follow the below steps to add a border in your Microsoft Word Document or a Single Page.
- Search for Microsoft App and Open the app.
- Click on Create a New Document or Open the existing one by clicking Ctrl + O.
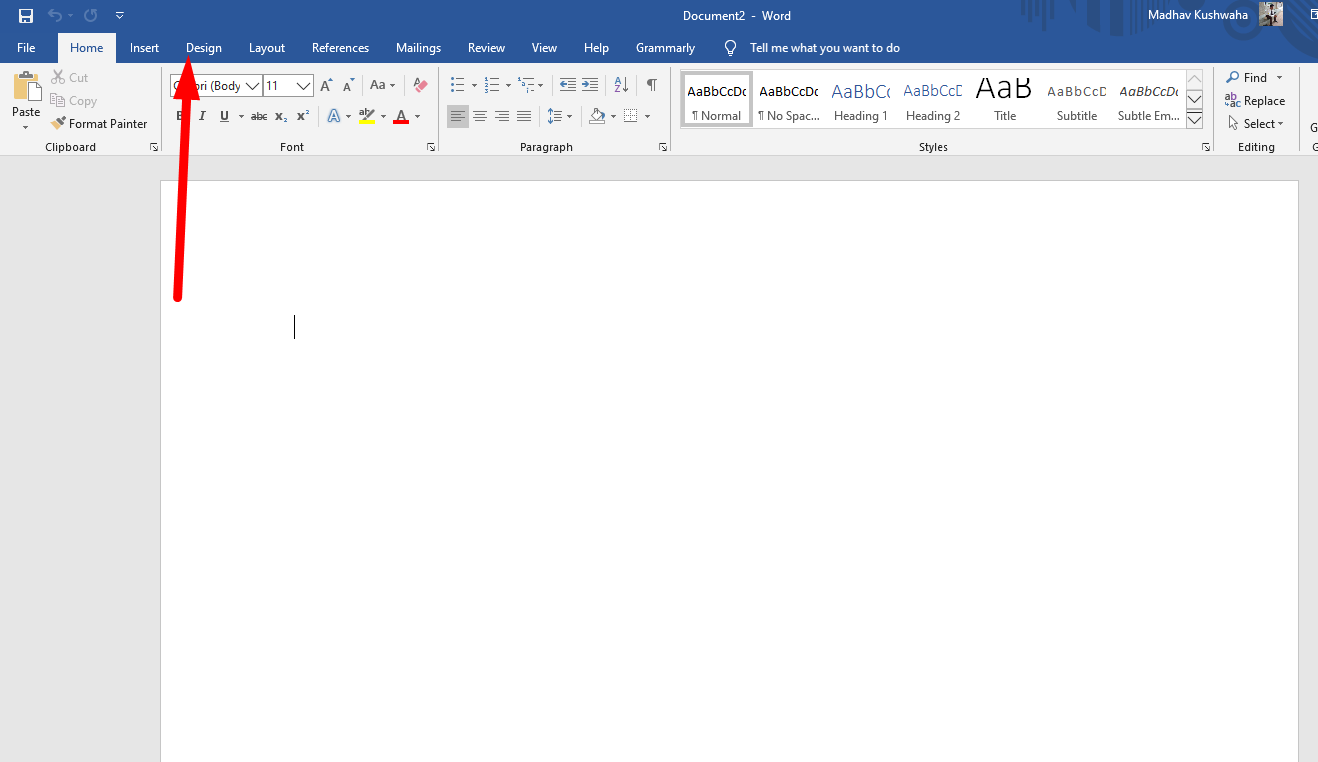
- Go to Design Tab.
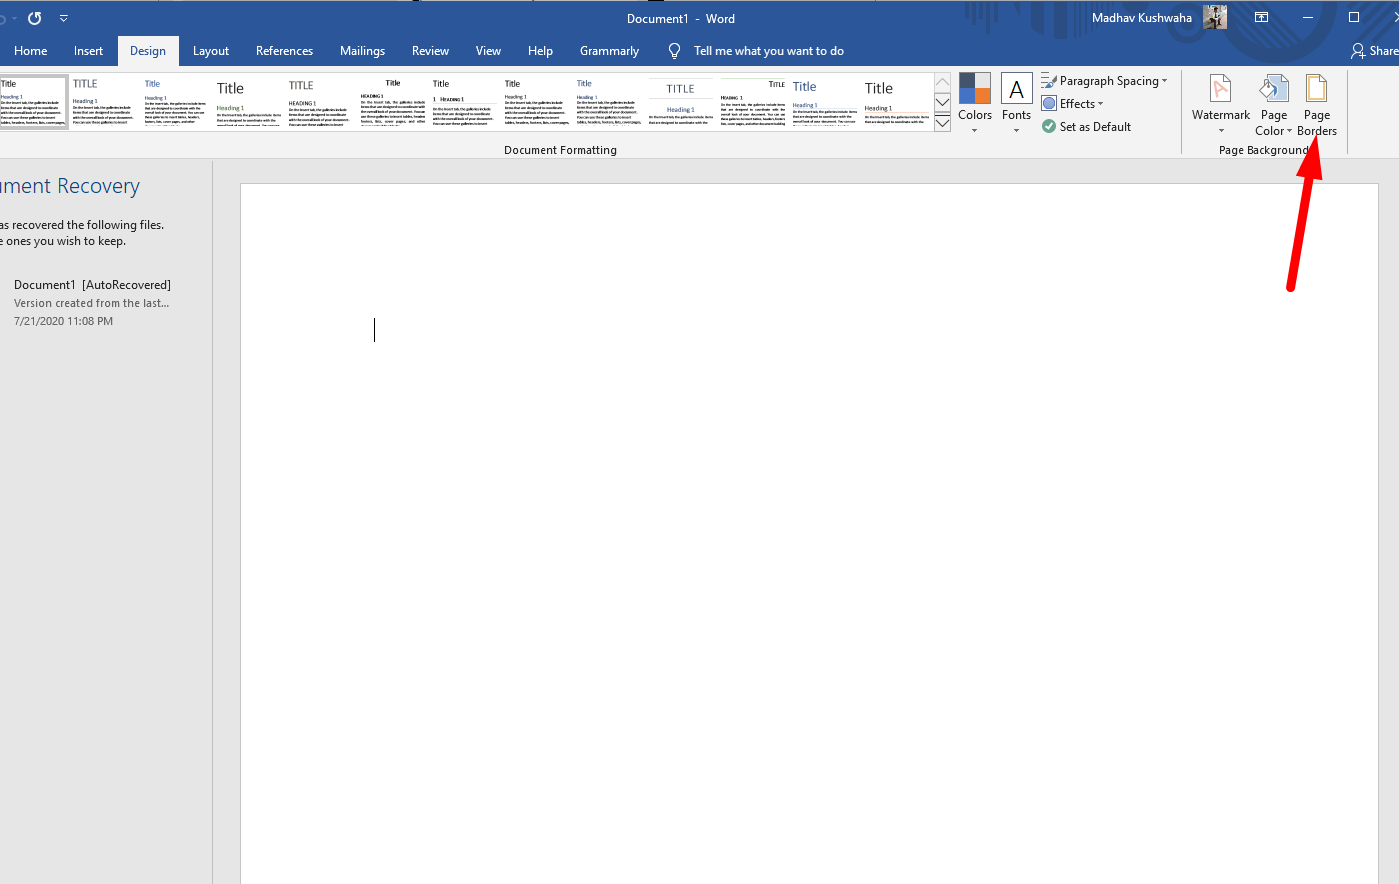
- Click on Page Borders option in the Page Background Group.
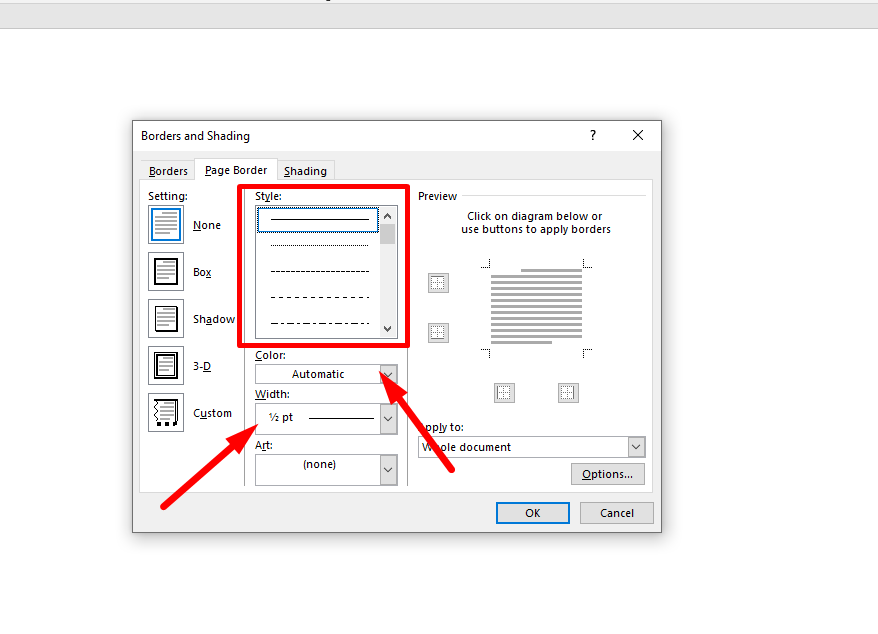
- Click on the Page Border in the Borders and Shading window.
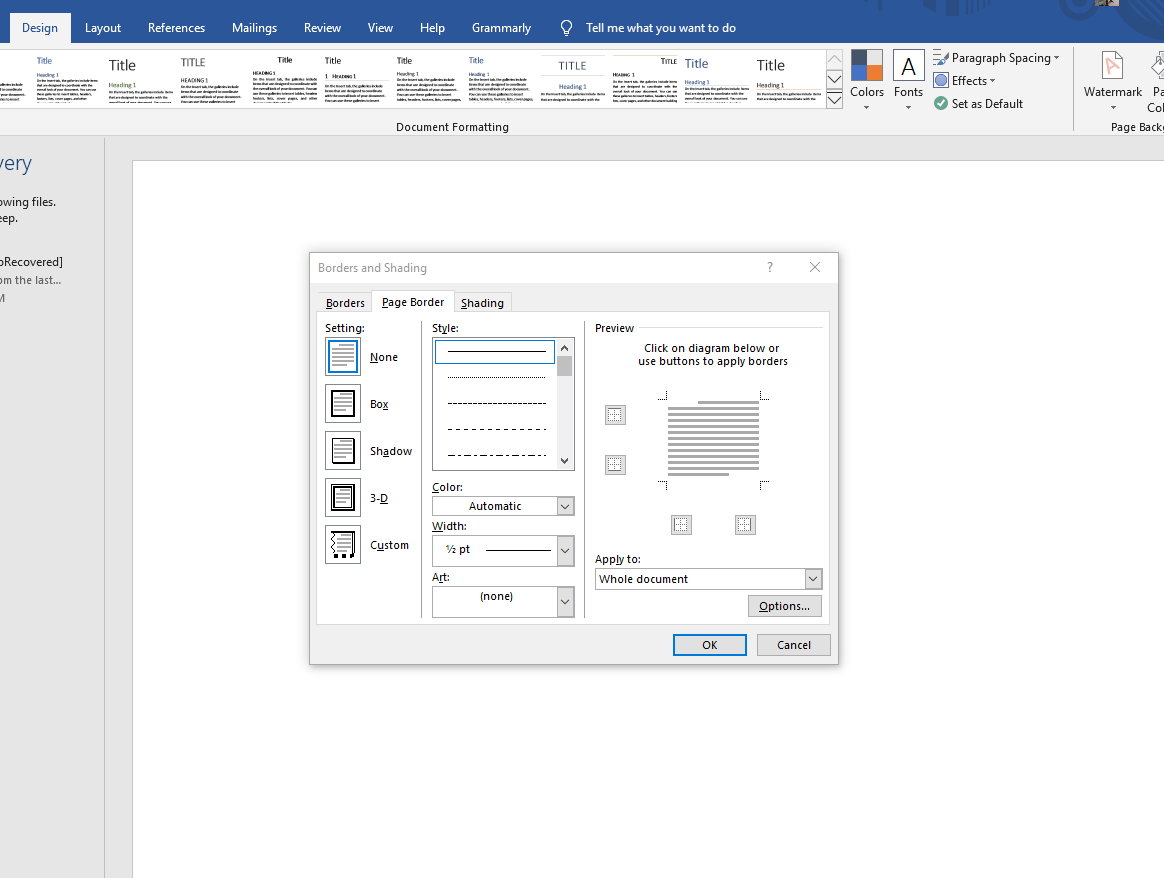
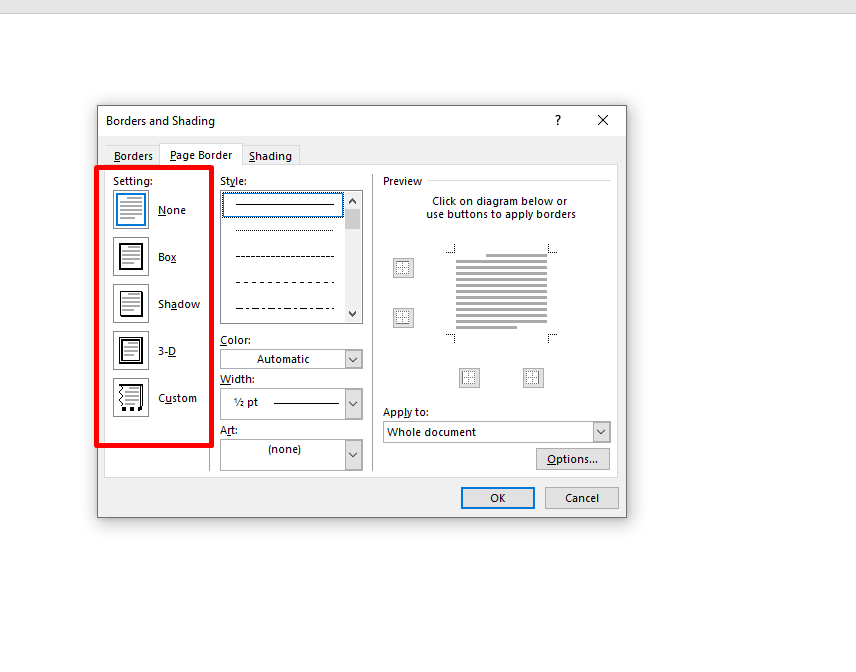
- Select the Box if you want a Box, Shadow, 3D, or a Custom Border around your page.
- Click on the Border Style of your choice you want on your page. You can select from Solid, dotted, or dashed border for your document. Moreover, you can also select the color and width of the border around your page.
- Once you followed the above steps properly, click on Ok to save the border and apply it to your word document.
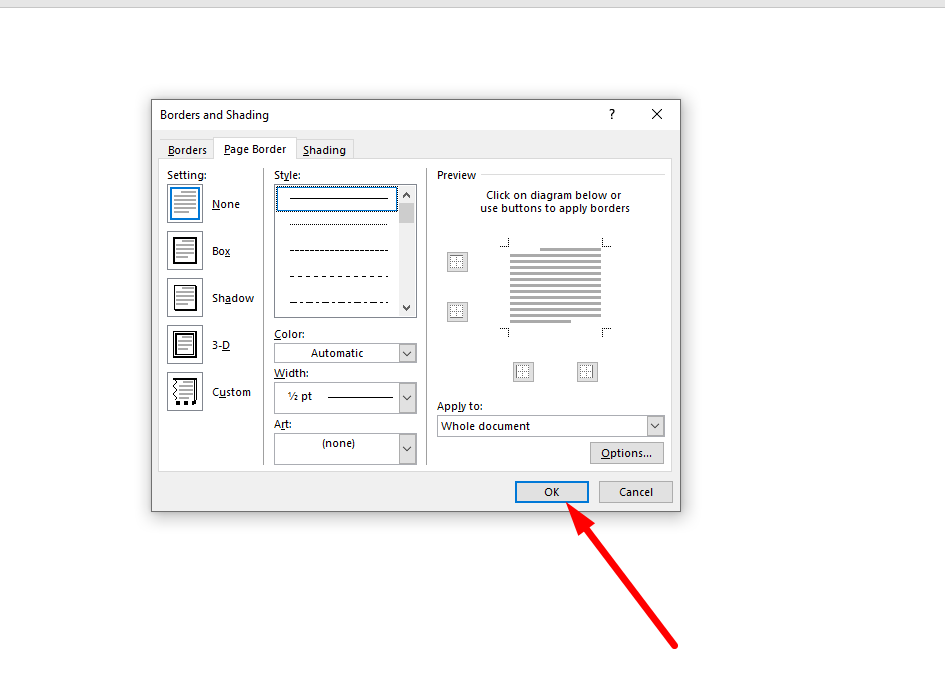
Note: When you select a border and save, it will be implemented on the entire word document that means every page will have the same border. However, you can select the Down Arrow shown below to apply to a specific page or section of the word document.
How to Modify Borders in Microsoft Word?
Please follow the below steps to modify a border in Microsoft Word Document.
- Search for Microsoft App and Open the app.
- Click on Create a New Document or Open the existing one by clicking Ctrl + O.
- Go to Design Tab.
- Click on Page Borders option in the Page Background Group.
- Click on the Page Border in the Borders and Shading window.
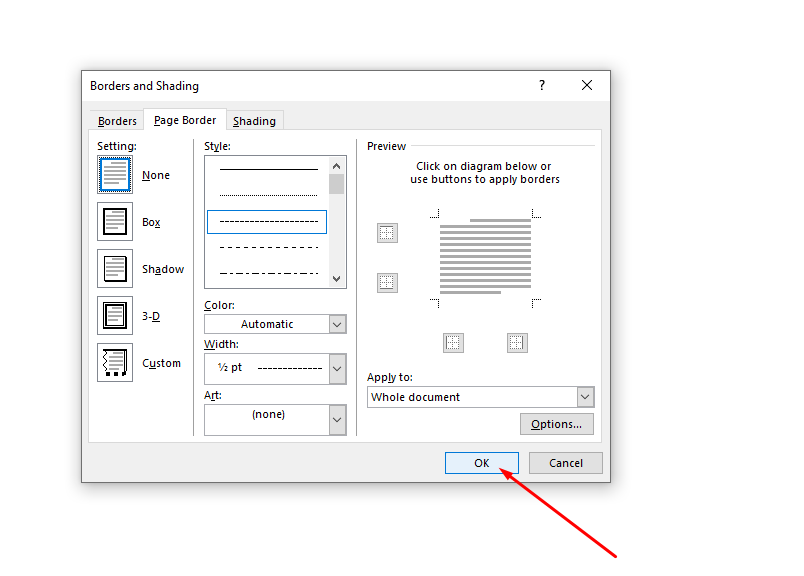
- Change the type of Border, Styles, Color, Width, and Art of a border as per your requirement in a single page or entire document.
- Click on Ok once you have followed the above steps. Your border changes will be saved and take into effect.
How to Remove a Border in Microsoft Word?
Please follow the below steps to remove a border in Microsoft Word Document.
- Search for Microsoft App and Open the app.
- Click on Create a New Document or Open the existing one by clicking Ctrl + O.
- Go to Design Tab.
- Click on Page Borders option in the Page Background Group.
- Click on the Page Border in the Borders and Shading window.
- Click on the Page Border tab in the Borders and Shading window.
- Select None from the Border Settings.
- Once you have followed the above steps properly, click on Ok. The border will be automatically removed from the Word Document or single page as per your preference.