How to Create a Bokeh Background in Photoshop CS6
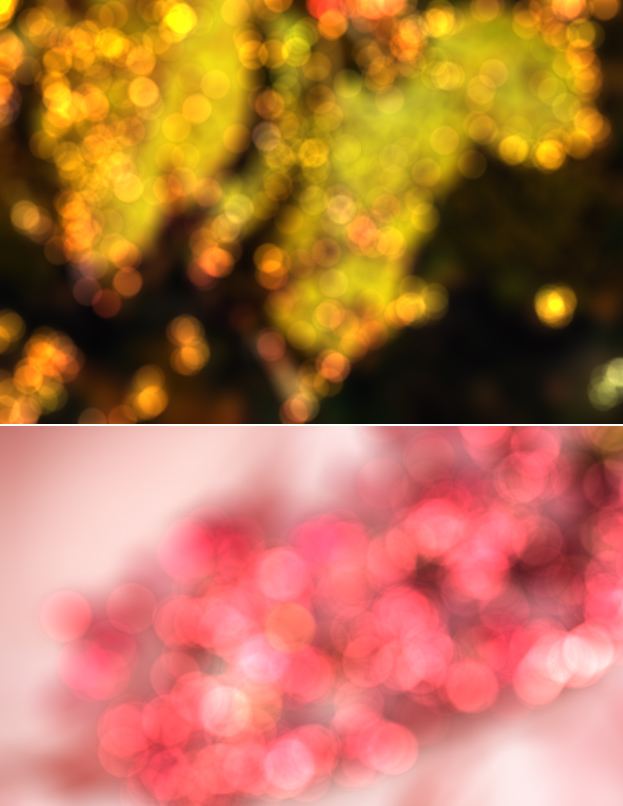
This tutorial will show how can you create a bokeh background using a new feature in Photoshop CS6 – Field Blur.
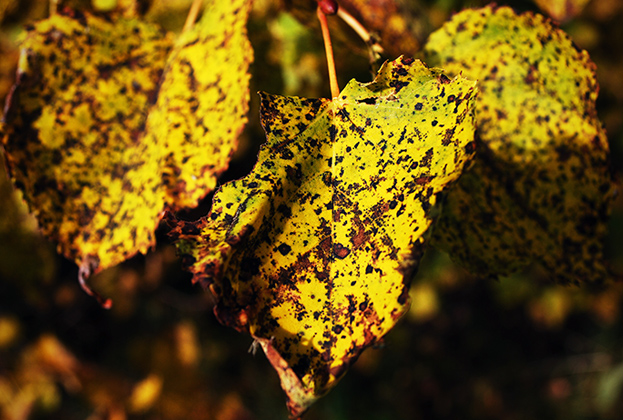
Open any picture where you like the colors. Do not worry about the quality or the subject of the picture. Bokeh effect will wash away any imperfections and also the subject will be unrecognizable. So the picture choice should be solely on the color preferences.
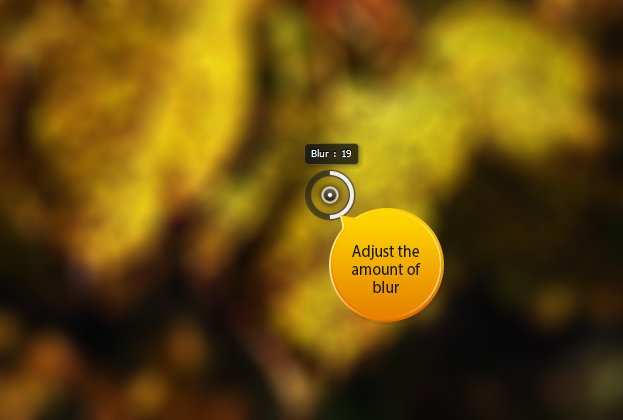
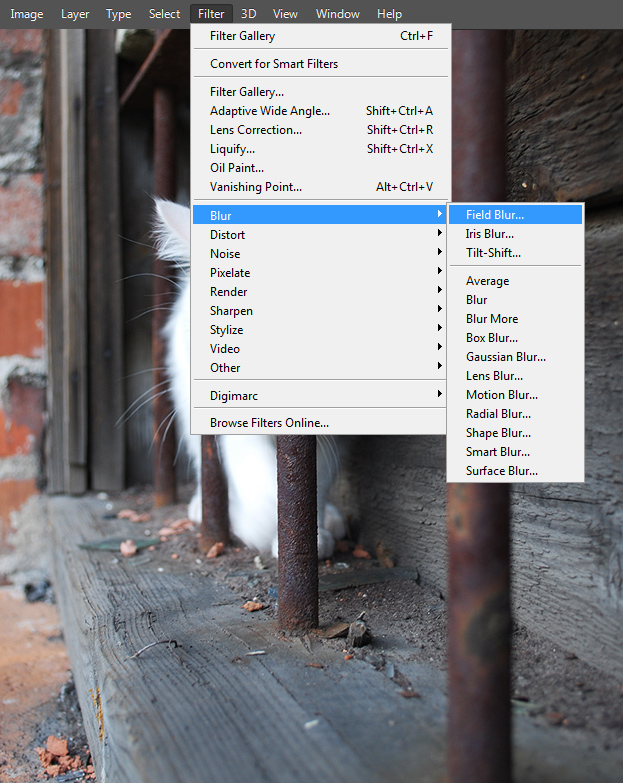
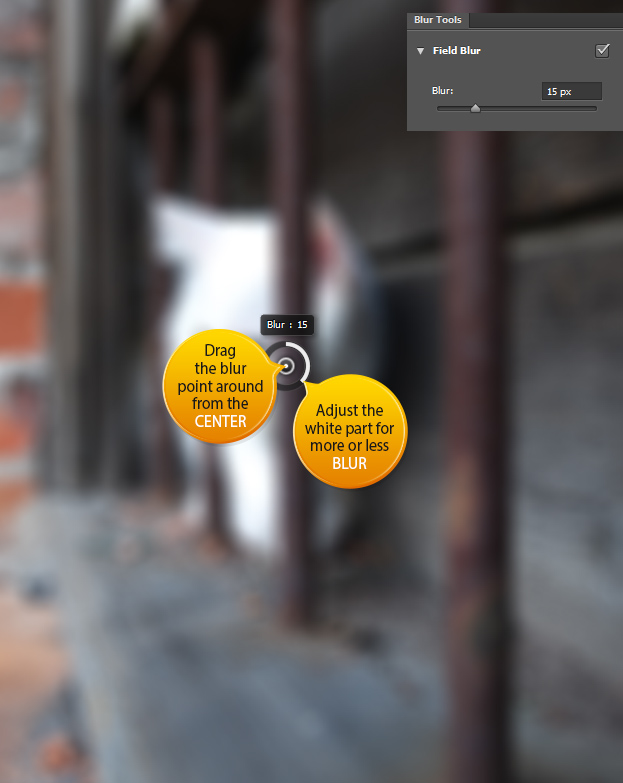
Now go to Filter > Blur > Field Blur. There adjust the amount of blur to rather high.
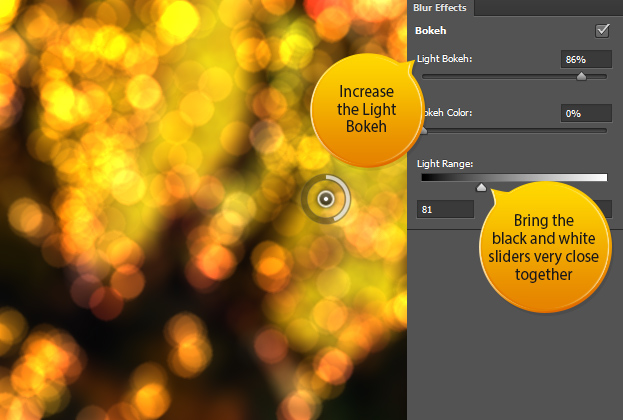
Now locate the Blur effects from the right side of the Photoshop. There raise the Light Bokeh to rather high. Then move to Light range and there try to move the white and black slider together. Also, different picture equals to different results, so try playing around with those values.
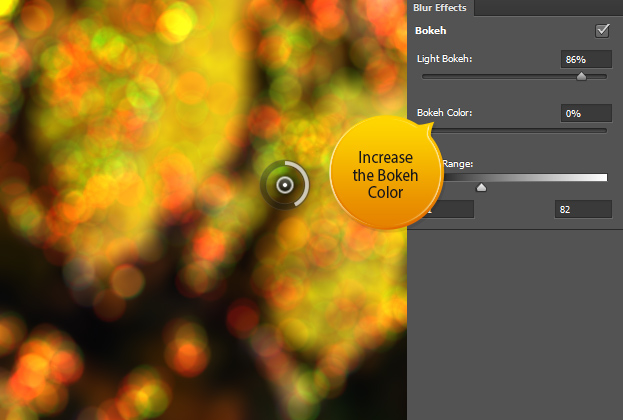
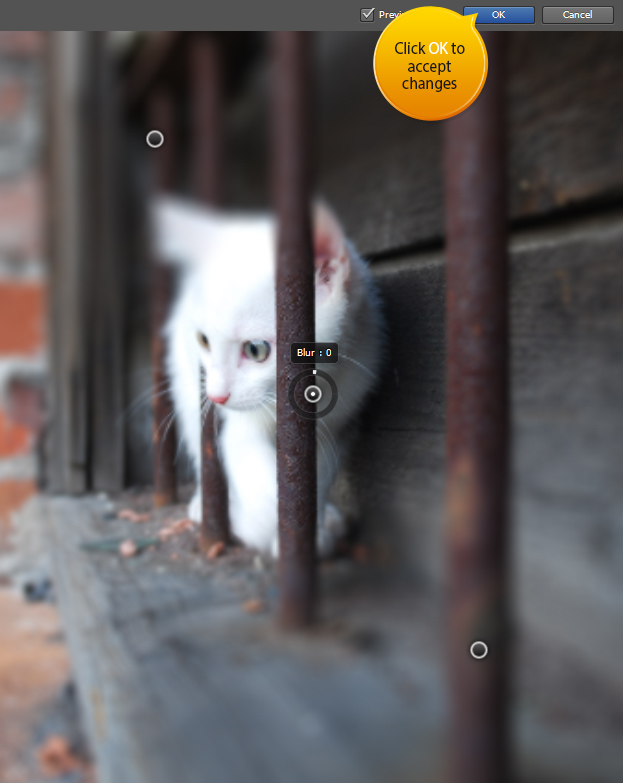
You can also add some color on your bokeh, but that is purely optional. Now press Ok from the upper bar to apply the bokeh.
And that is how you make a bokeh background from scratch thanks to Photoshop CS6 new feature – the Field Blur.

