How to Create a Miniature Model Effect Only in Photoshop CS6
Photoshop CS6 new features help to create many nice effects. One of them is creating a miniature object effect using the brand new Tilt-Shift blur.
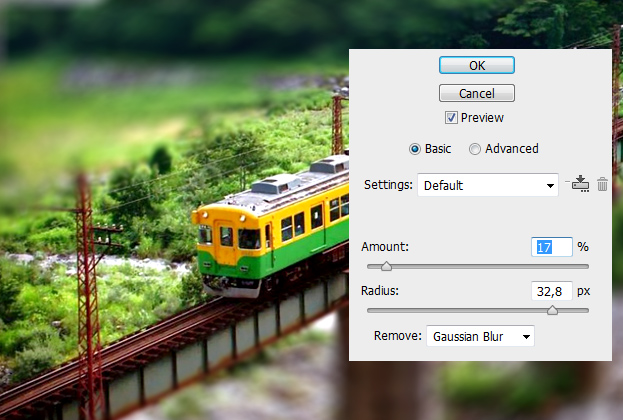
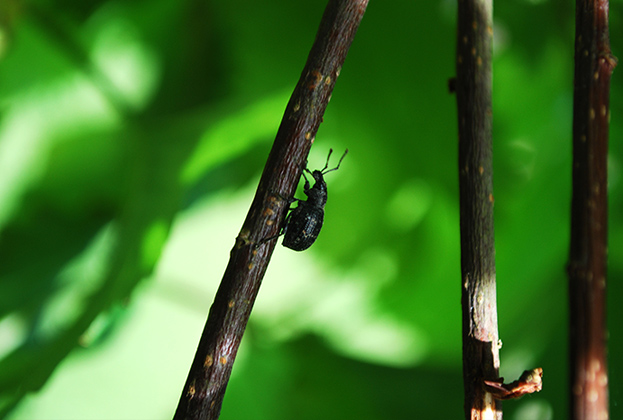
Find a picture that you’d wish to transform into a miniature. The best effect will be with a picture or an object that is shown a bit from above as the train picture below.
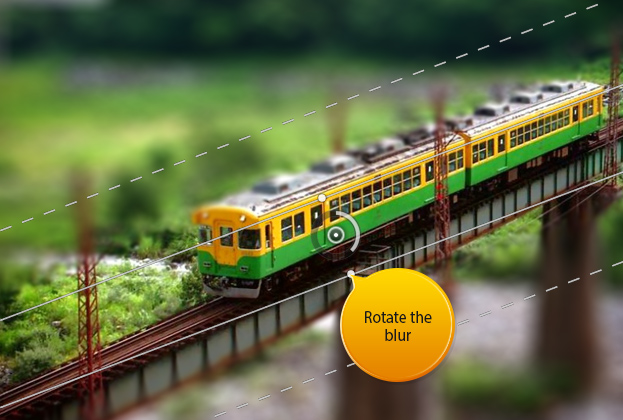
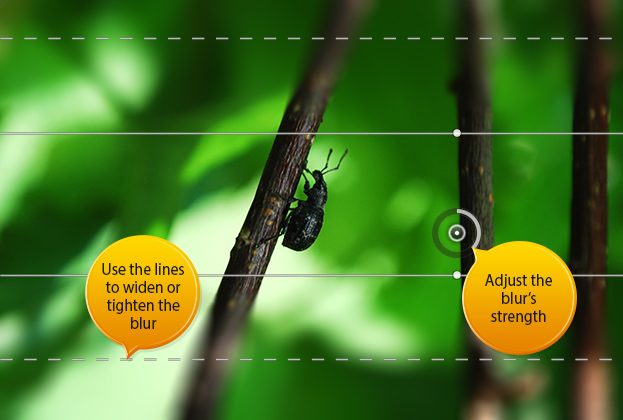
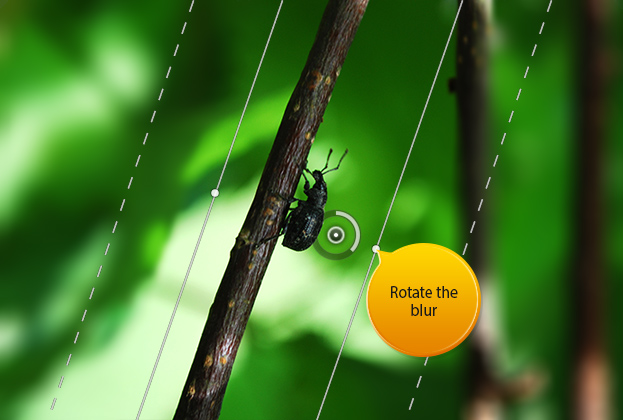
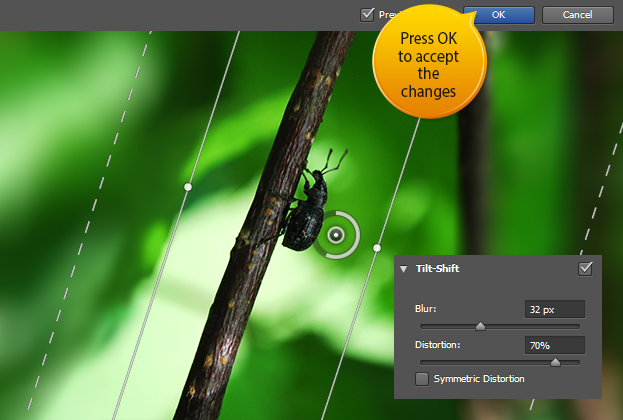
Now go to Filter > Blur > Tilt-Shift. There rotate the lines according to the object on your picture.
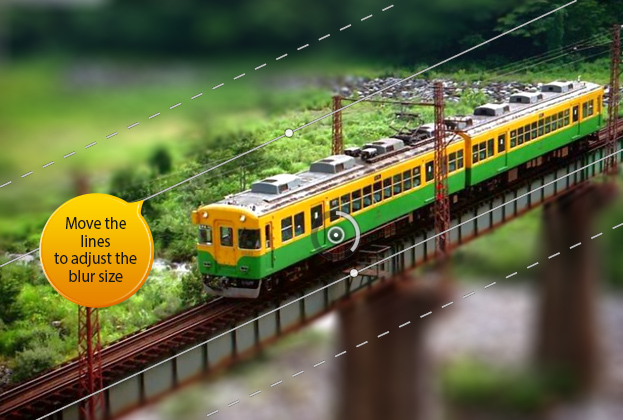
Also move the lines if necessary.
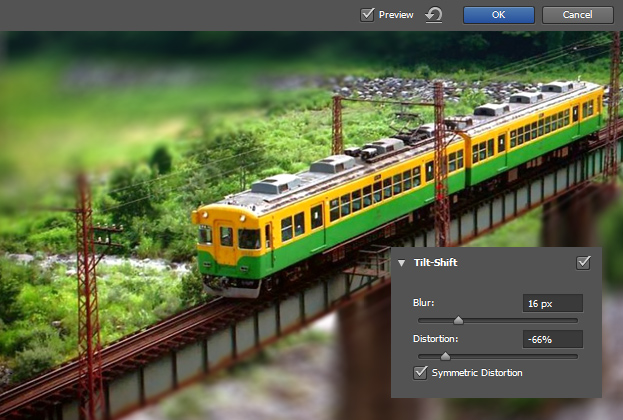
You can adjust the strength of the blur from the Tilt-Shift toolbar. There also add some distortion the the blur. Press Ok.
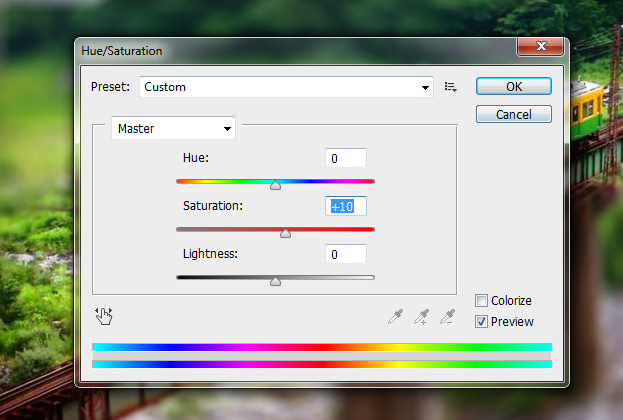
As miniatures are often very colorful then it would be wise also to add some color brightness of our own. For that go to Image > Adjustments > Hue/Saturation and raise the Saturation a bit. Press Ok.
Now go to Filter > Sharpen > Smart Sharpen and add some sharpness to your picture.
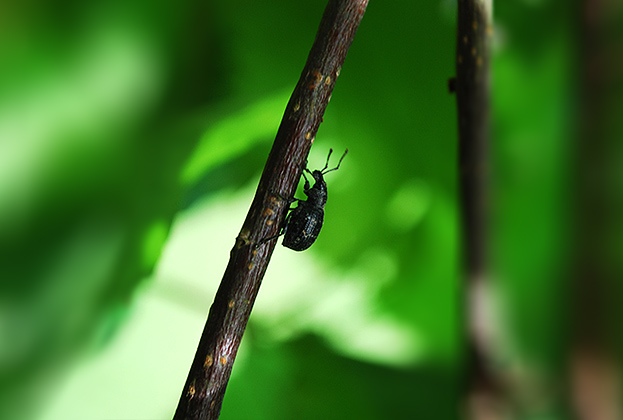
And your miniature picture is ready to be displayed.


