How to Use the New Crop Tool in Photoshop CS6
When you start to crop in Photoshop CS6, you will notice that it is very much different, even strange and very uncomfortable. But it just seems that way. The tool is actually made much more comfortable and many more new options.
01. You can find the crop tool as before – in the toolbar.
02. Immediately, after clicking the crop tool, the picture will get selected. Now you can start cropping like in the old times, just move the corners or sides of the selection. The new feature is that you can now move the about to be cropped area. But instead of the selection moving, like in the old days, now the selection stays foot and you’ll be moving the picture inside the selection. Press Enter to confirm the crop.
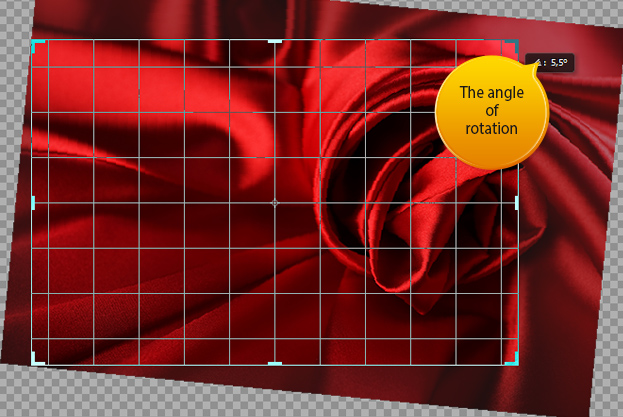
03. If you want to rotate the crop, then again, the image will rotate, not the crop selection. Also, now you do not have to be afraid to crop outside of the picture, the tool will make sure not to select anything that is left outside, of course, if you want it so.
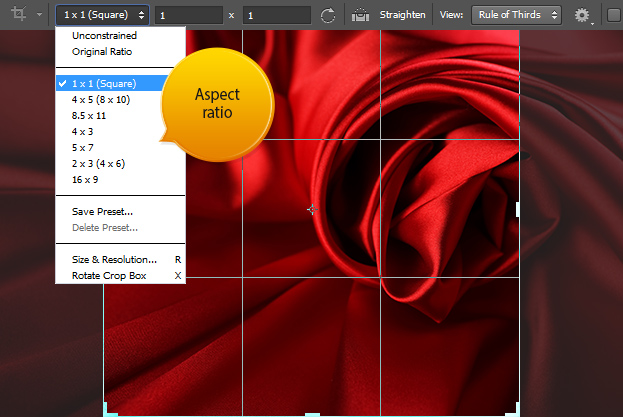
04. Its also very easy to change the aspect ratio, just click on the drop-down menu and pick most useful for you. There you can also get your original ratio back or save your own.
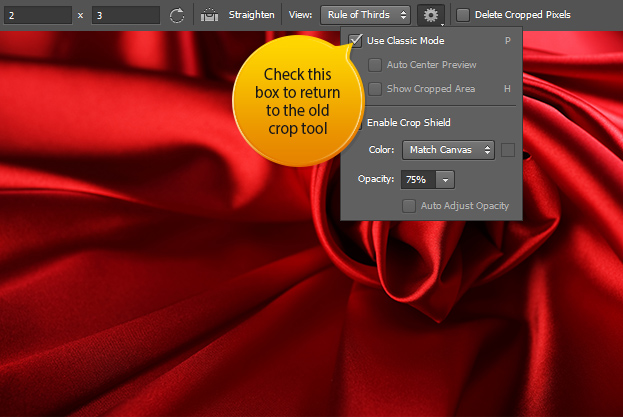
05. Still don’t like it and want the old back? No problem! Just click on the small wheel at the top of the crop menu and check the Use Classic mode Mode and you can start using the old crop tool immediately.
06. One more very useful option within the crop tool is the option whether to delete or not delete the cropped area. Check the box so that everything that is outside the cropped are will be deleted and uncheck the box if you want everything to remain, just out of your eyes. This way you can always go back to your original size without losing any pixels.
No doubt the new Crop tool is better and more useful in Photohsop CS6.


