How to Use the New Iris Blur Inside Photoshop CS6
One of three new blurs in Photoshop CS6 is the Iris blur. It creates a blur all around the subject and lets you control where is the subject and how much and how strong the blur is.
Lets see more closely how this Iris Blur works. Open a picture that that you’d wish to blur a bit.

Now locate the new blur at Filter > Blur > Iris Blur.

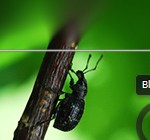
First thing you will see is a circle blur. But you can also make it into a rectangular blur by dragging from the small white box.

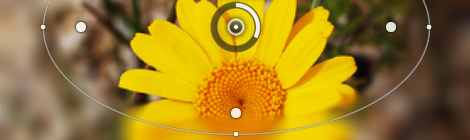
There are many more adjustable points. The small white circles help you to change the size and angle of the blur, the bigger white circles adjust the blurred inner edges and you can move the whole blur around by dragging from the middle circle.

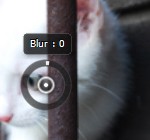
The strength of the blur can be adjusted from the middle circle’s white bar. If you are satisfied with the blur effect you are about to add, just press Ok from the upper bar to accept the changes.

That is all you need to know about the Iris Blur inside Photoshop.